m in sc
Street Cruiser
So, on here in the classifides i found a 2000 concours Ray was selling, and it was close to me. listed as a project or part sbike. since i can always use a few spares and my friend tom has an 01, i figured even if the motor had been locked up it was a no brainer.
so, a few weeks ago we sorted it out and picked it up, great experience, and i dragged it home. Now, it had been sitting outside, in Charlotte, under trees for 4 years due to family commitments, as I get it. But, damage was def done as happens.
since the front fairing had some damage and more importantly had been cut under the headlight, i had no use for it, so off it went. i saved everything else out of it as some is in way better shape than mince which had previously taken a RH spill.
anyway, upon getting it home and a trip to the carwash to get rid of the pine needles and leaves and 4 years of 'outside, i got it home and pulled the plugs, installed a battery, disconnected the coils and spun it over. oil light immediately went out and compression with no sign of hydro-lock. score.
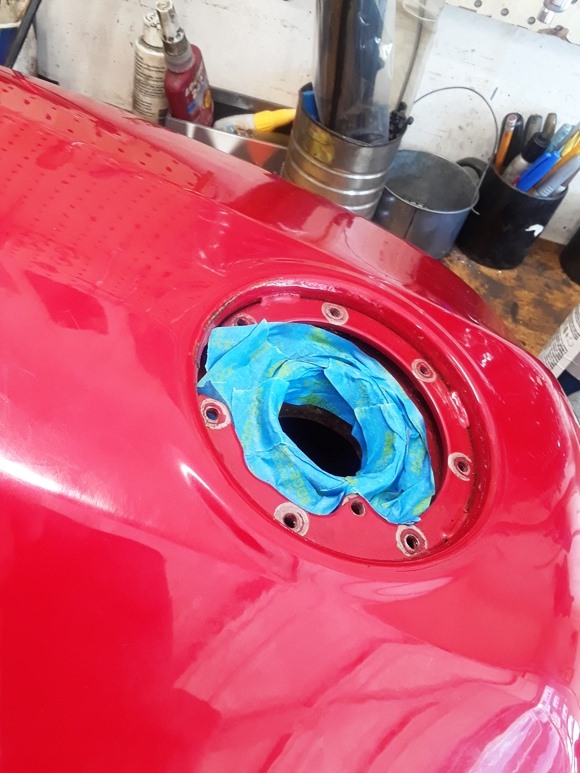
the tank had a pinhole so no fuel, which actually probably saved it from that fate.
took about an hour of fiddling and disassembly but got it running on a remote tank, motor sounded healthy.
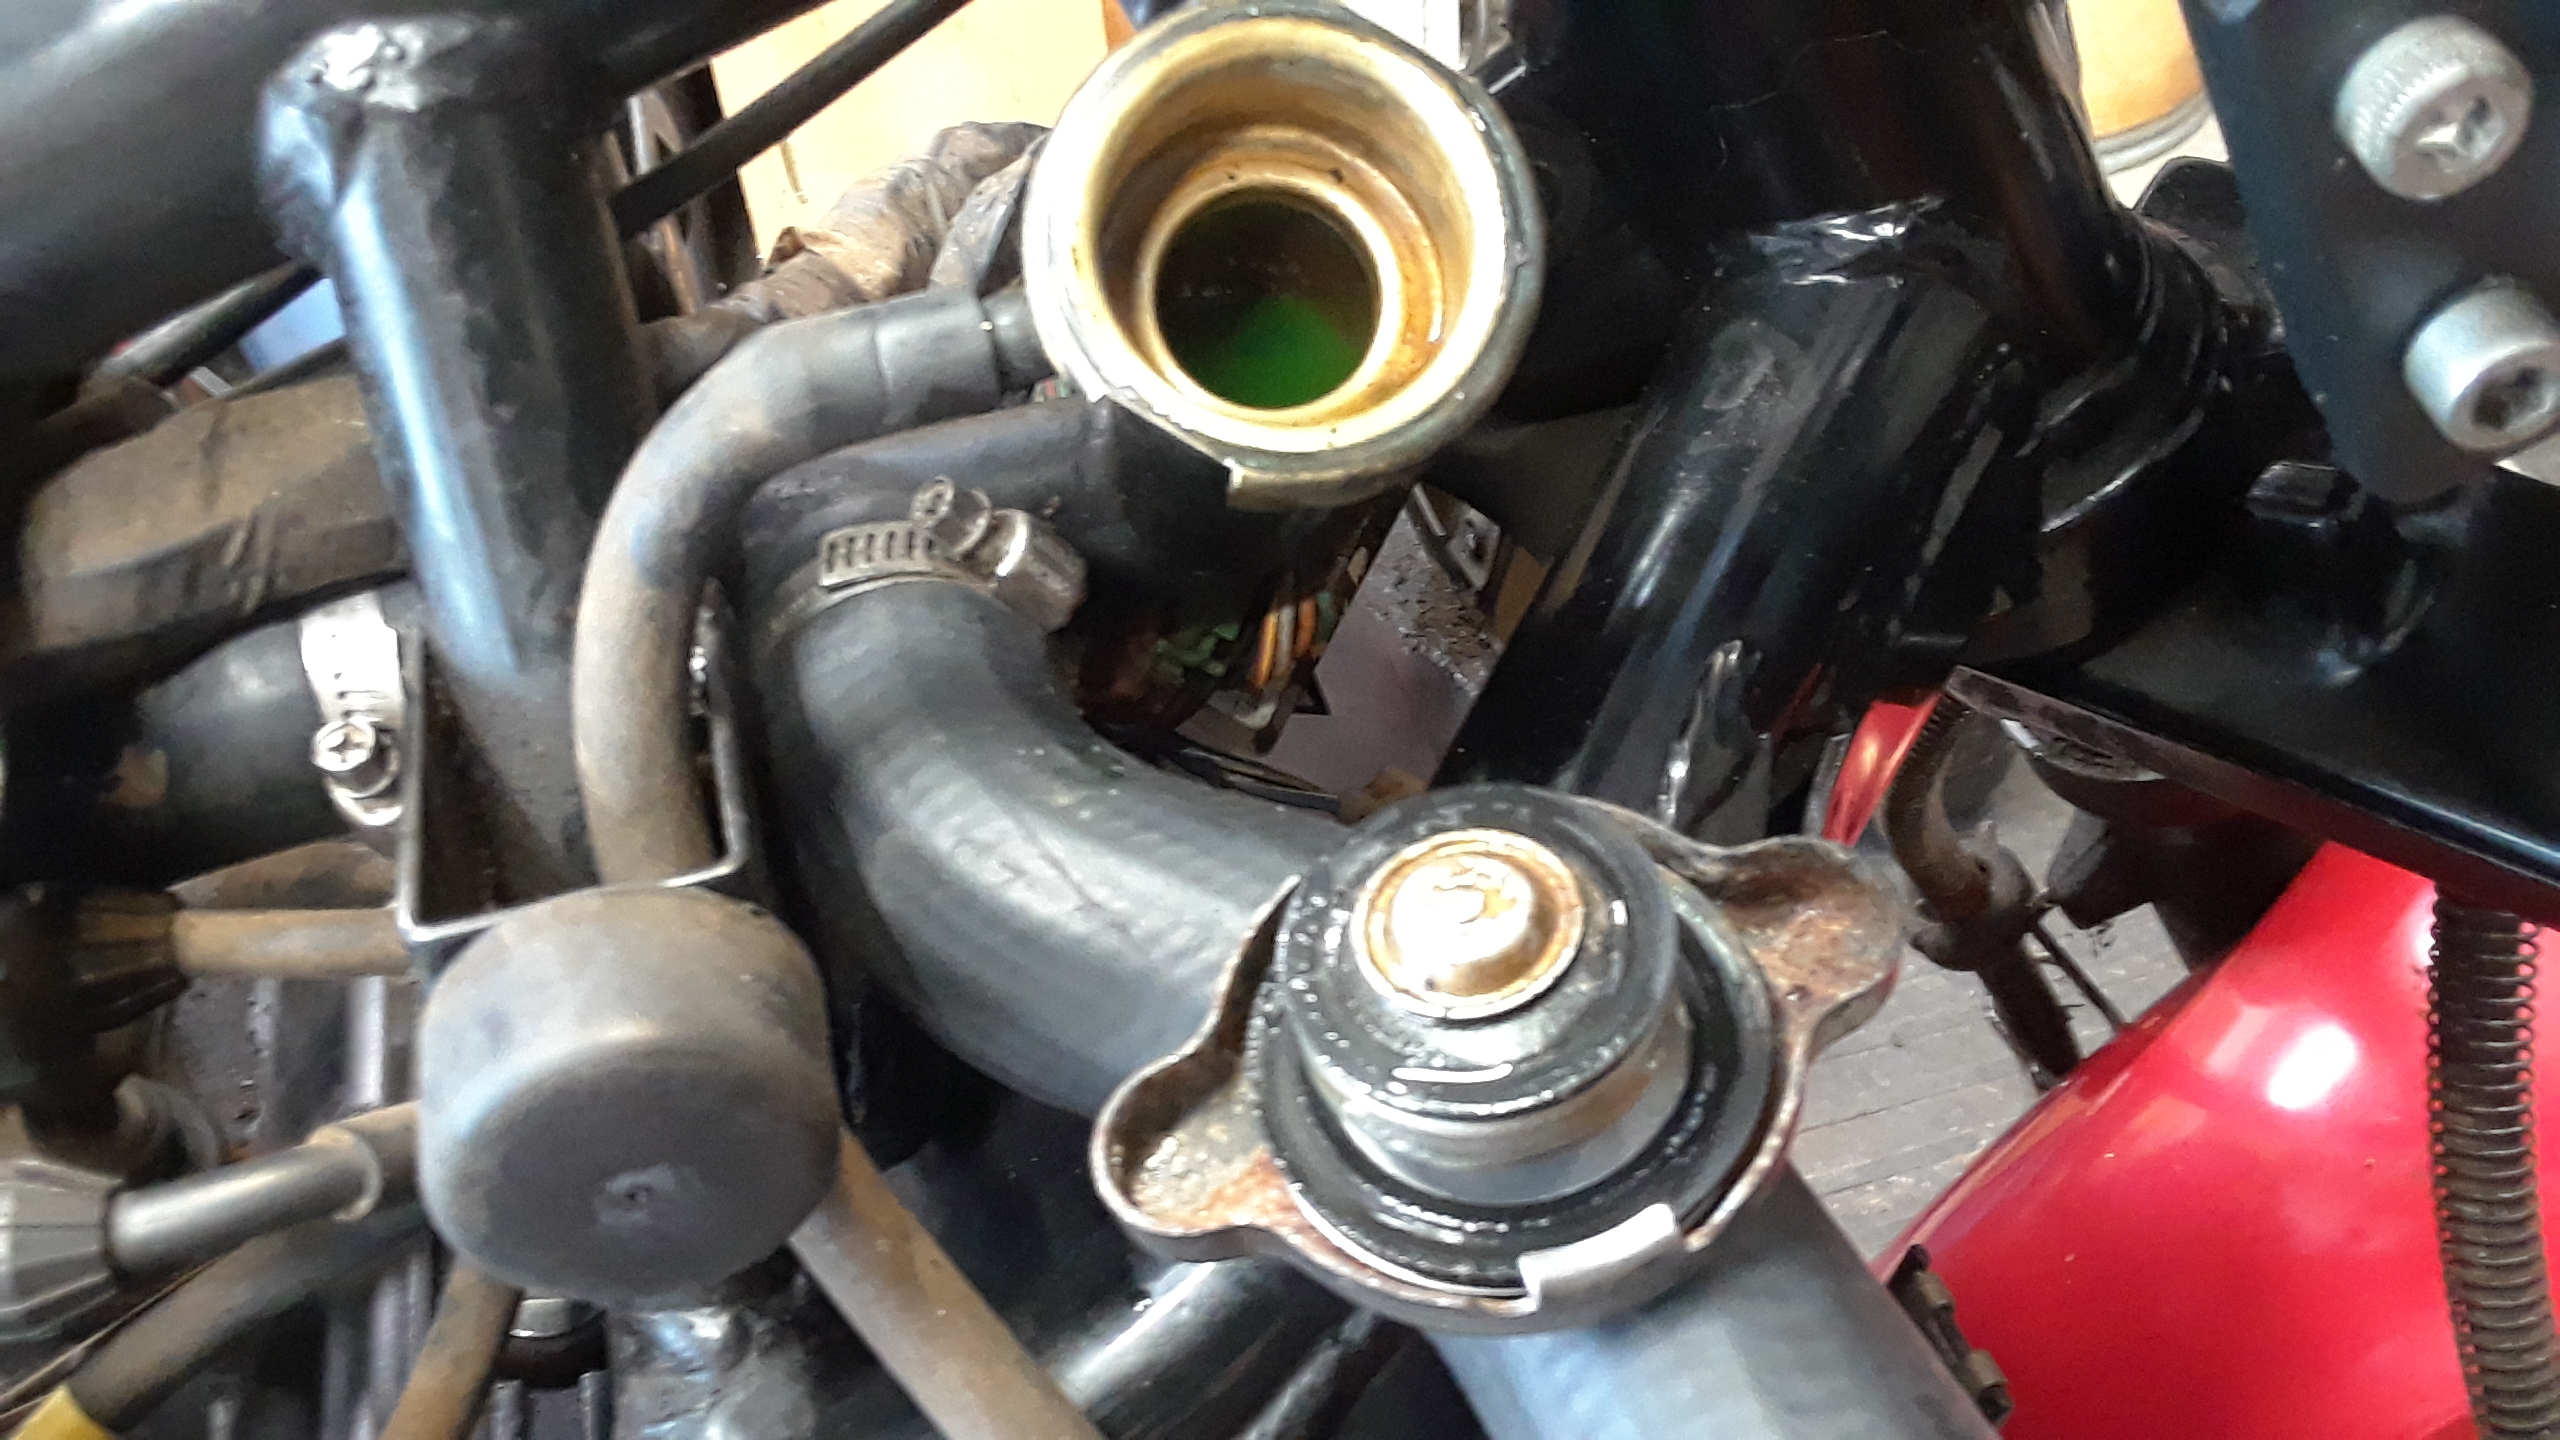
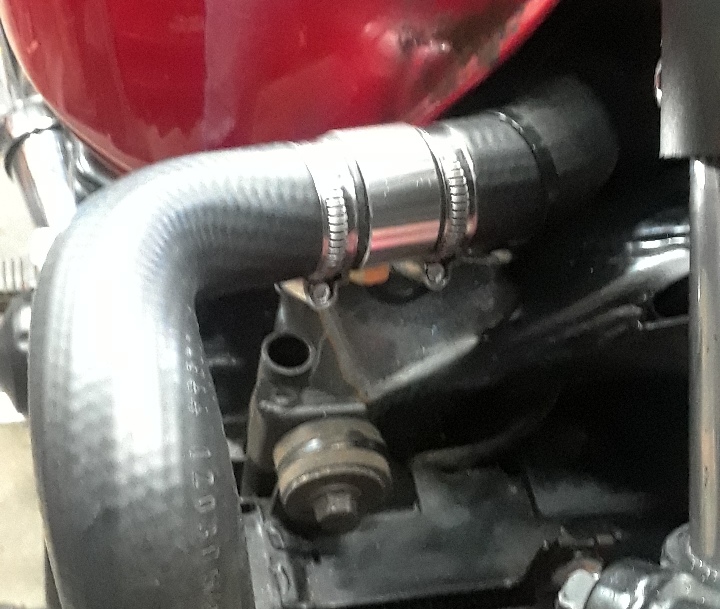
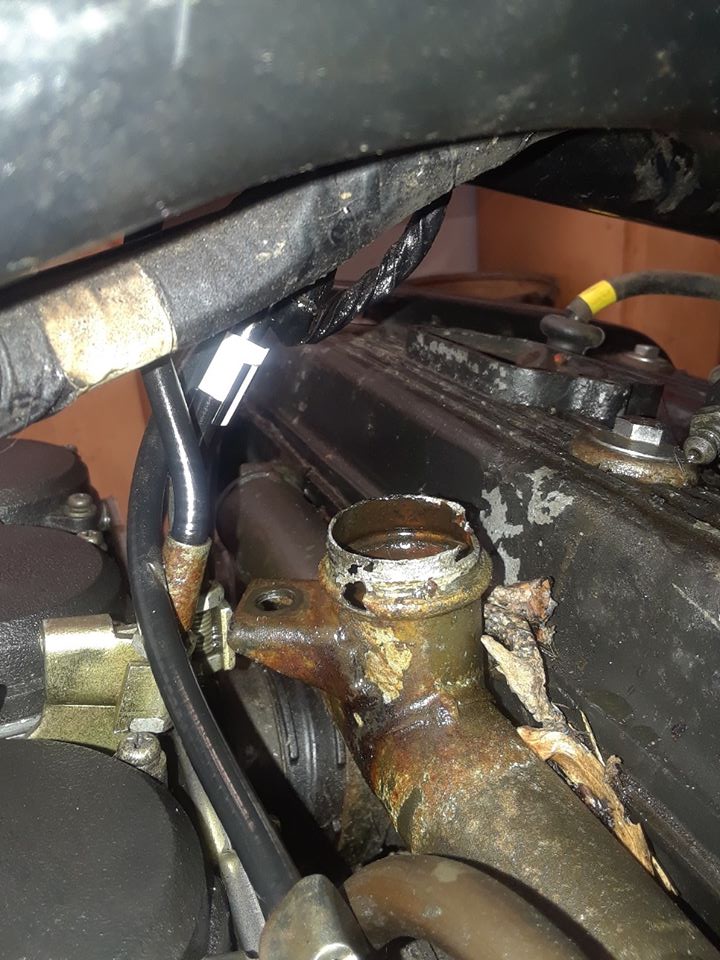
so of course, now to do everything else. brakes: stuck. carbs, well, you know. leaves. leaking rear coolant log (rusted through). clutch hydraulics flushed and bled. (had no action). remove a lot of accessory wiring and the crash bars and light s (my buddy w the 01 is getting those).
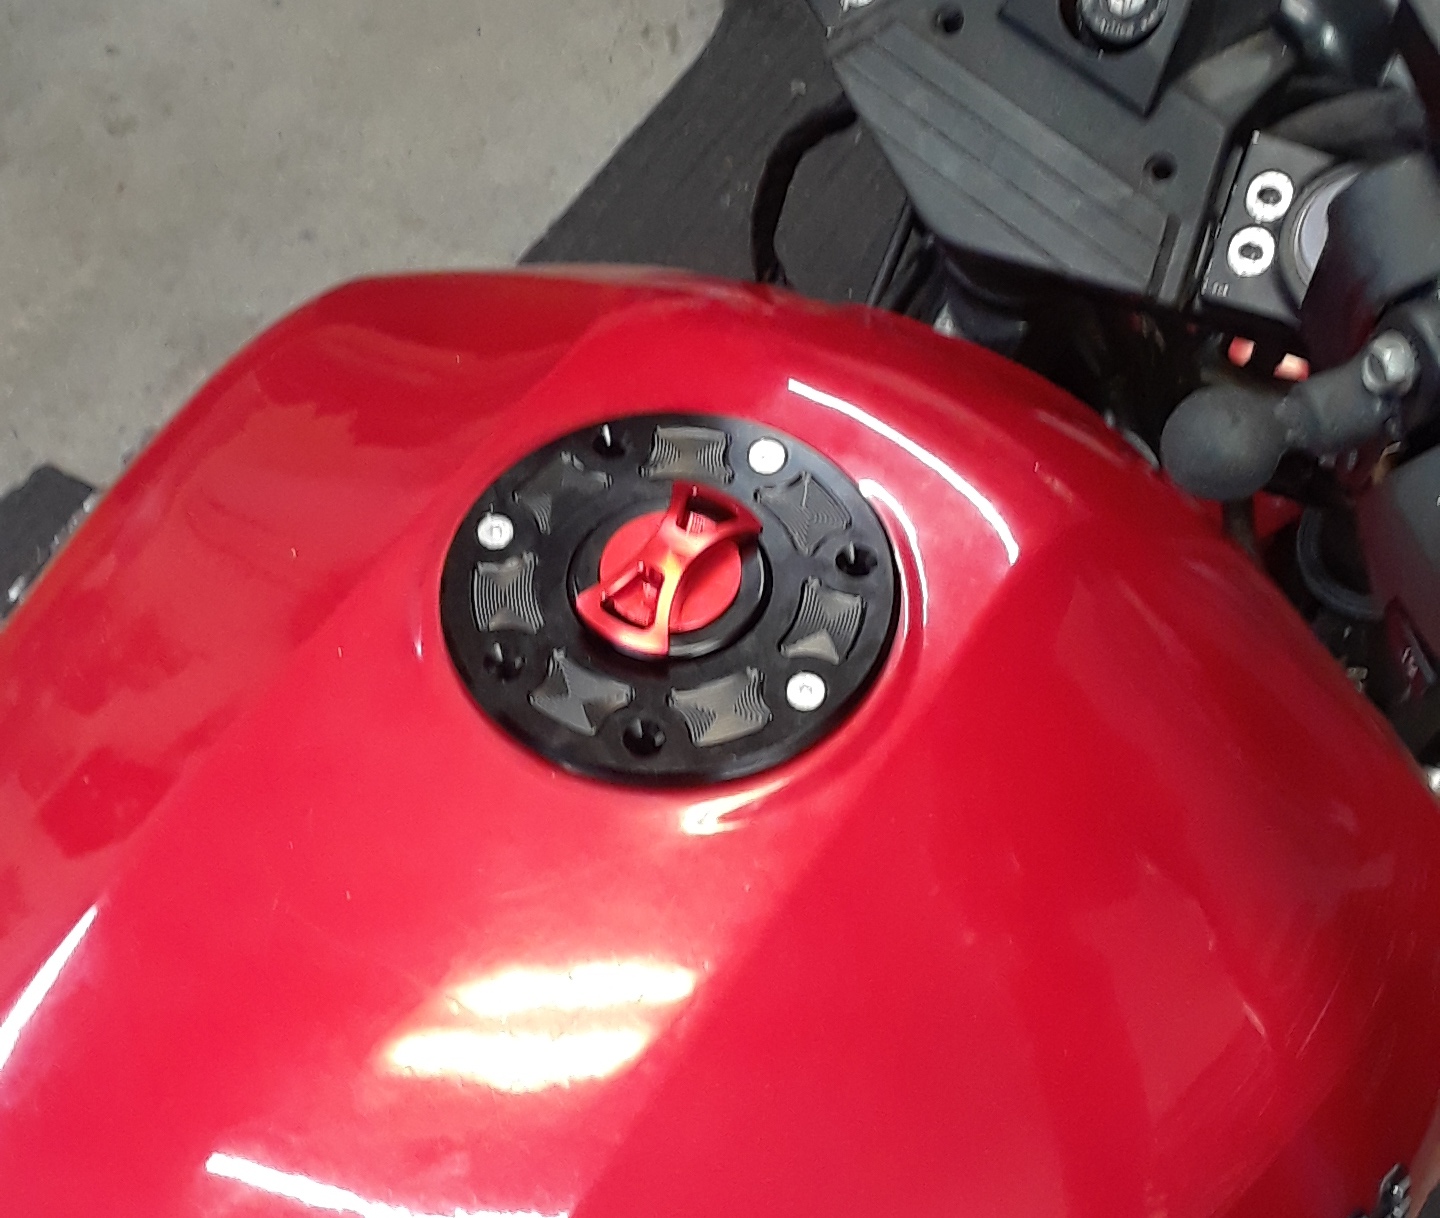
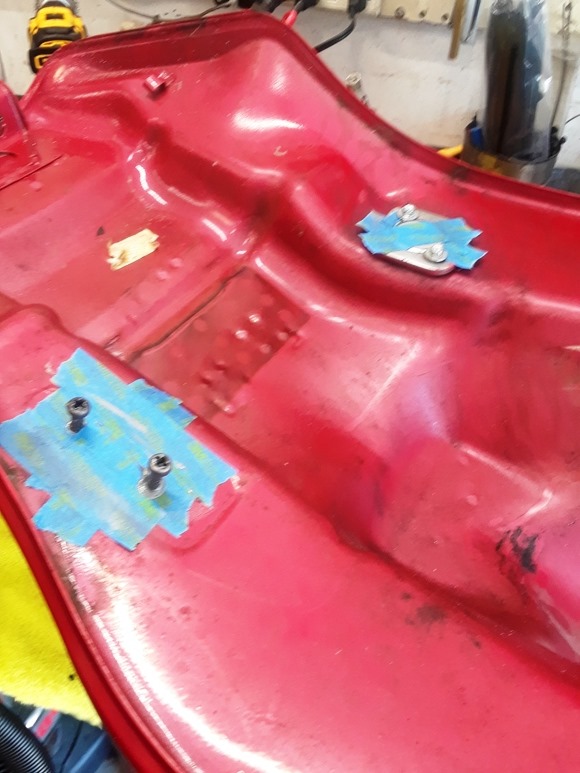
and just general cleaning. need to seal the tank and replace the petcock , so still getting parts streaming ion now.
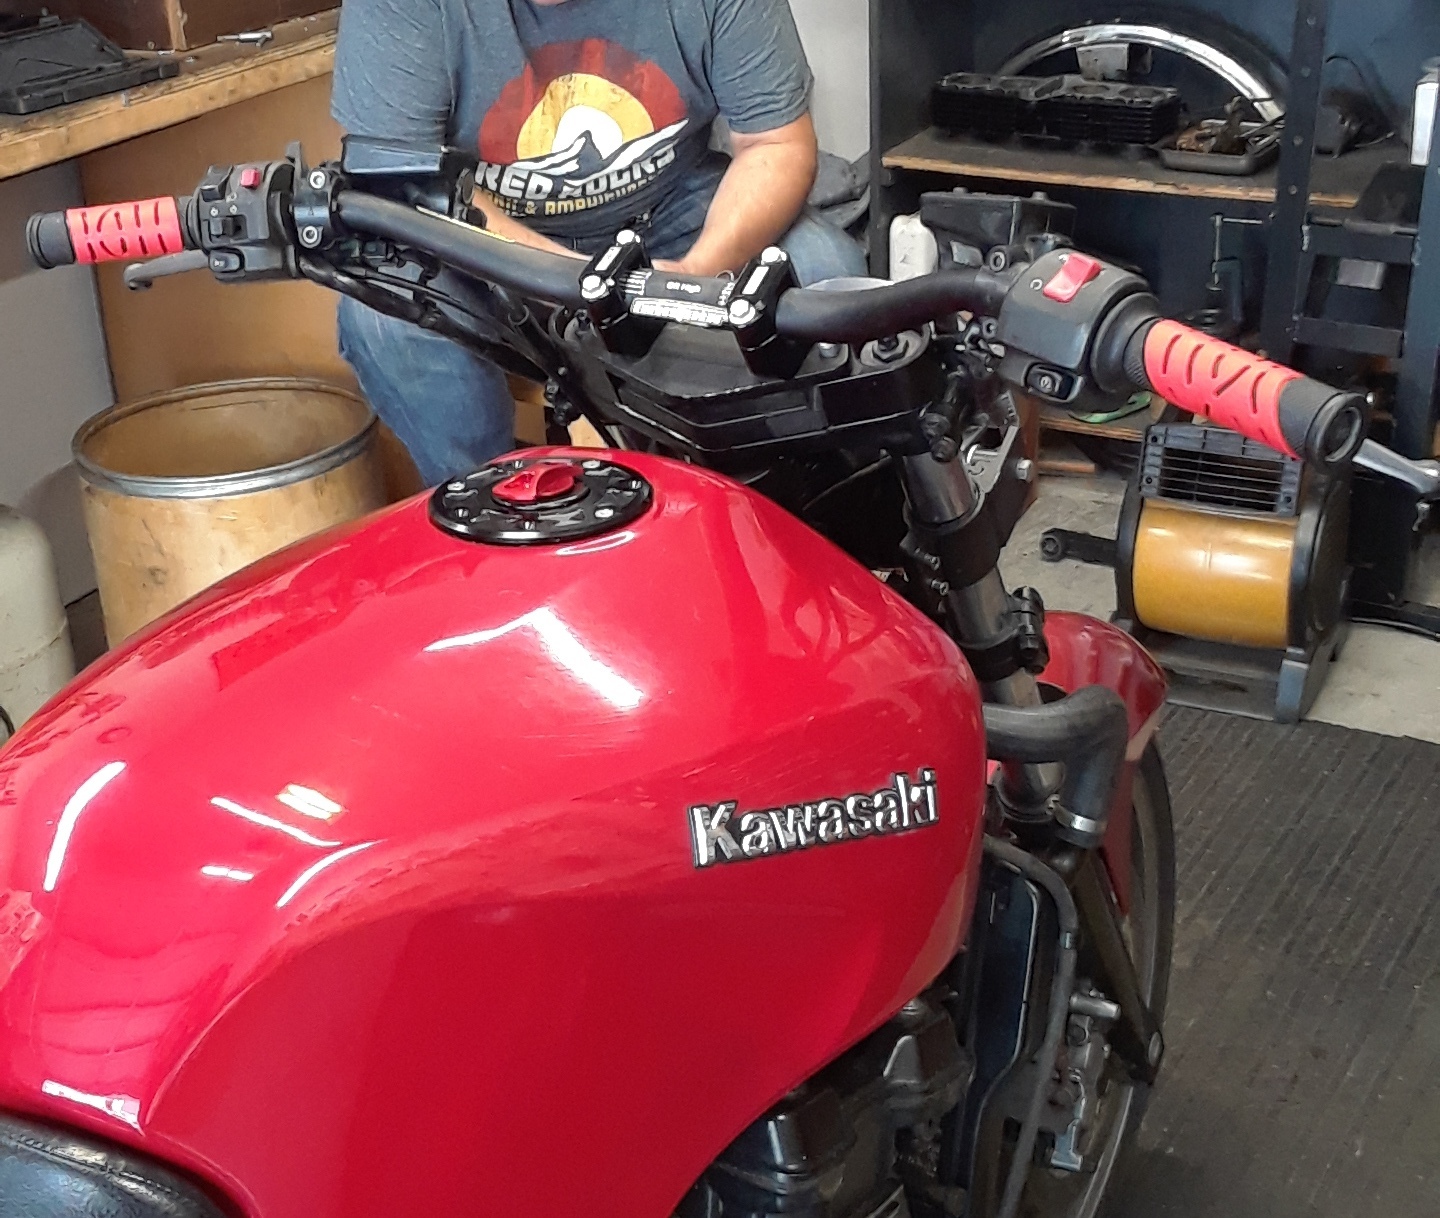
is is going to be some wild hot rod super modified naked concours? no, absolutely not. more gpz with luggage and manners. the fairing has its place but ones enough.
few pics here and there:
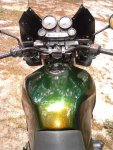
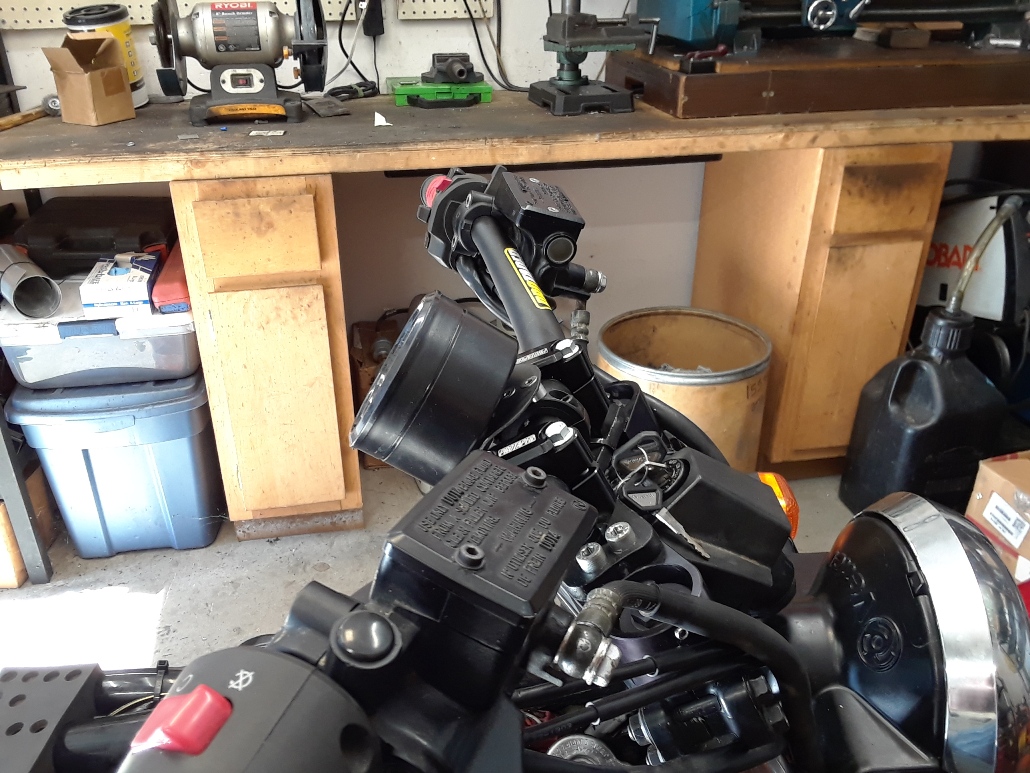
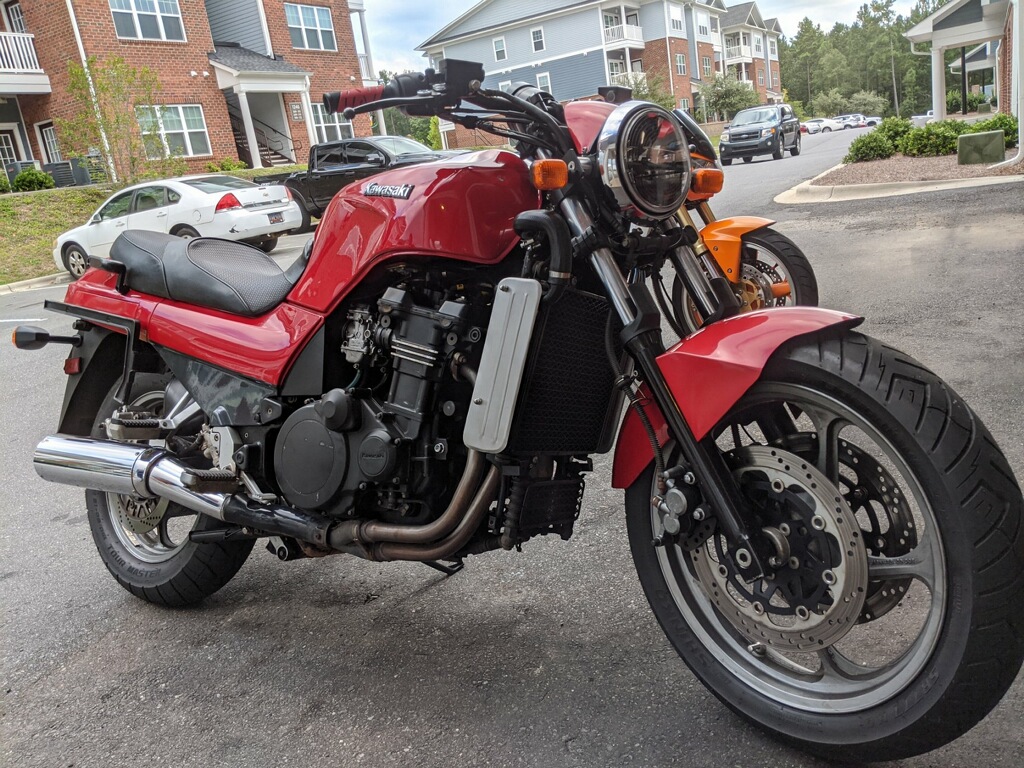
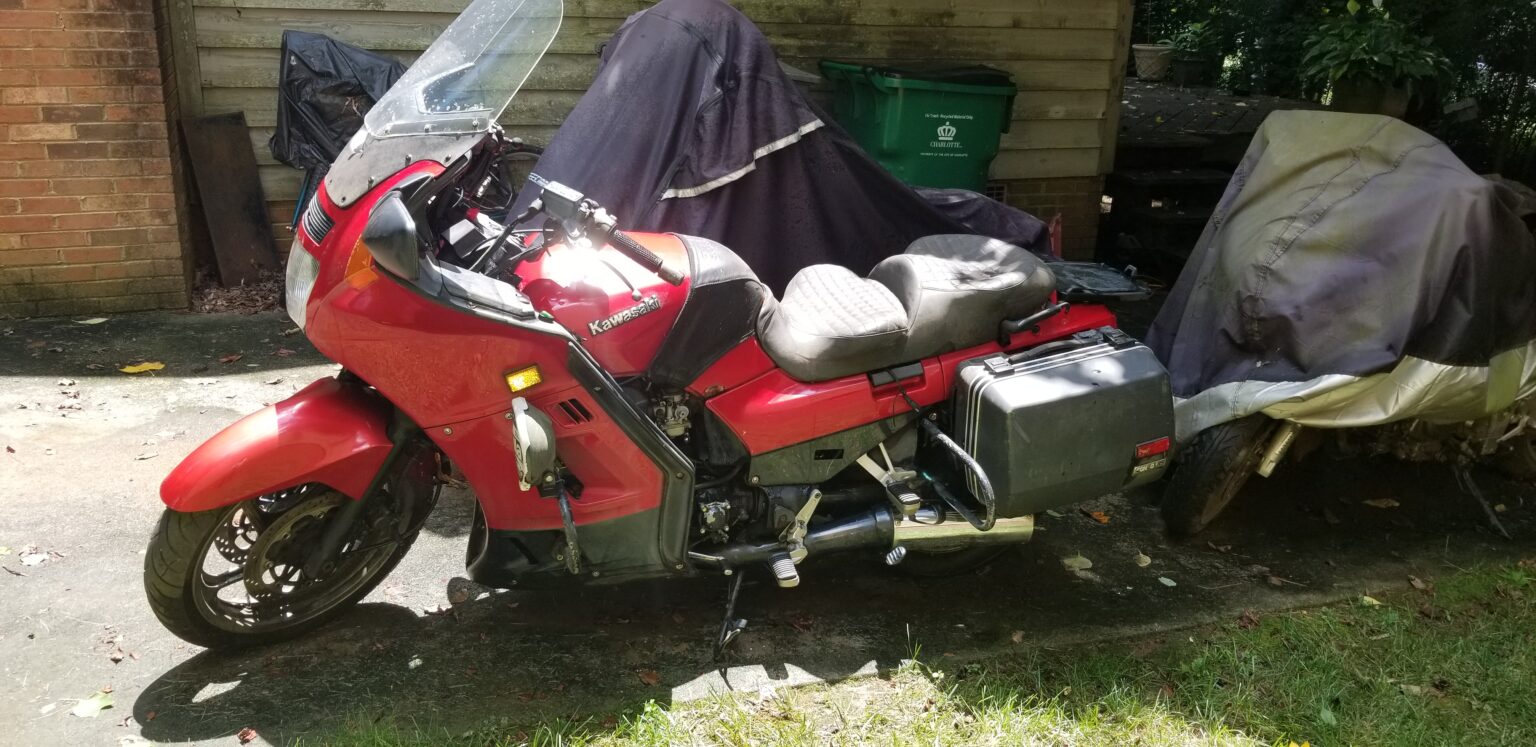
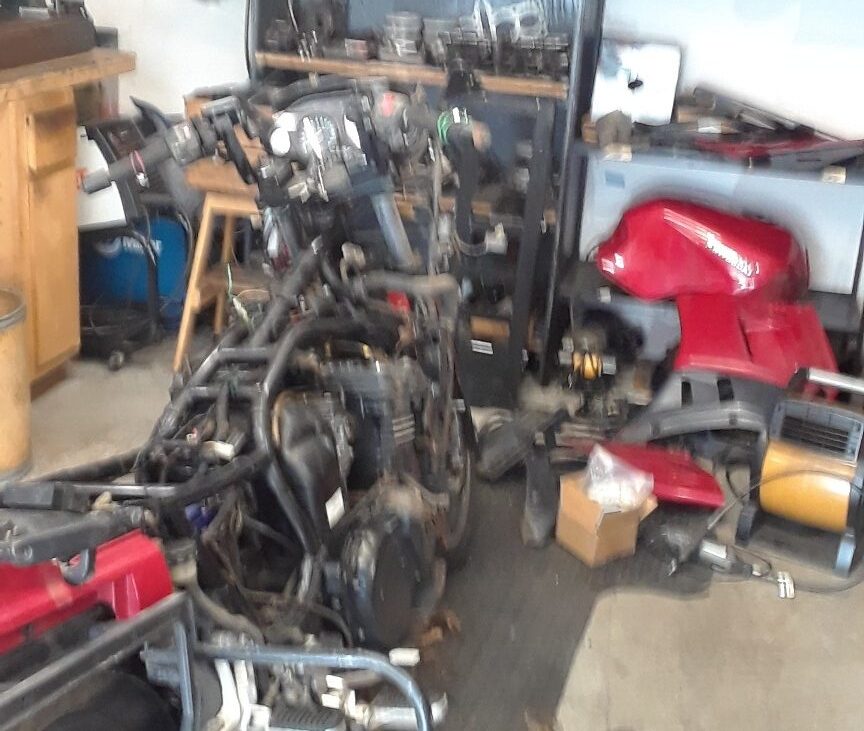
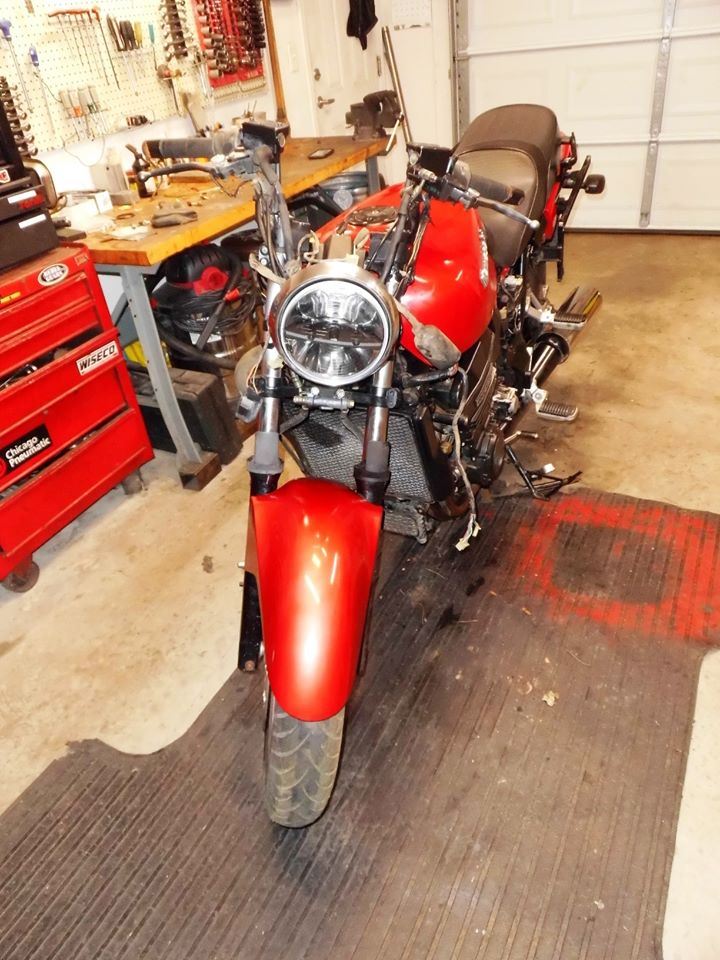
as bought:
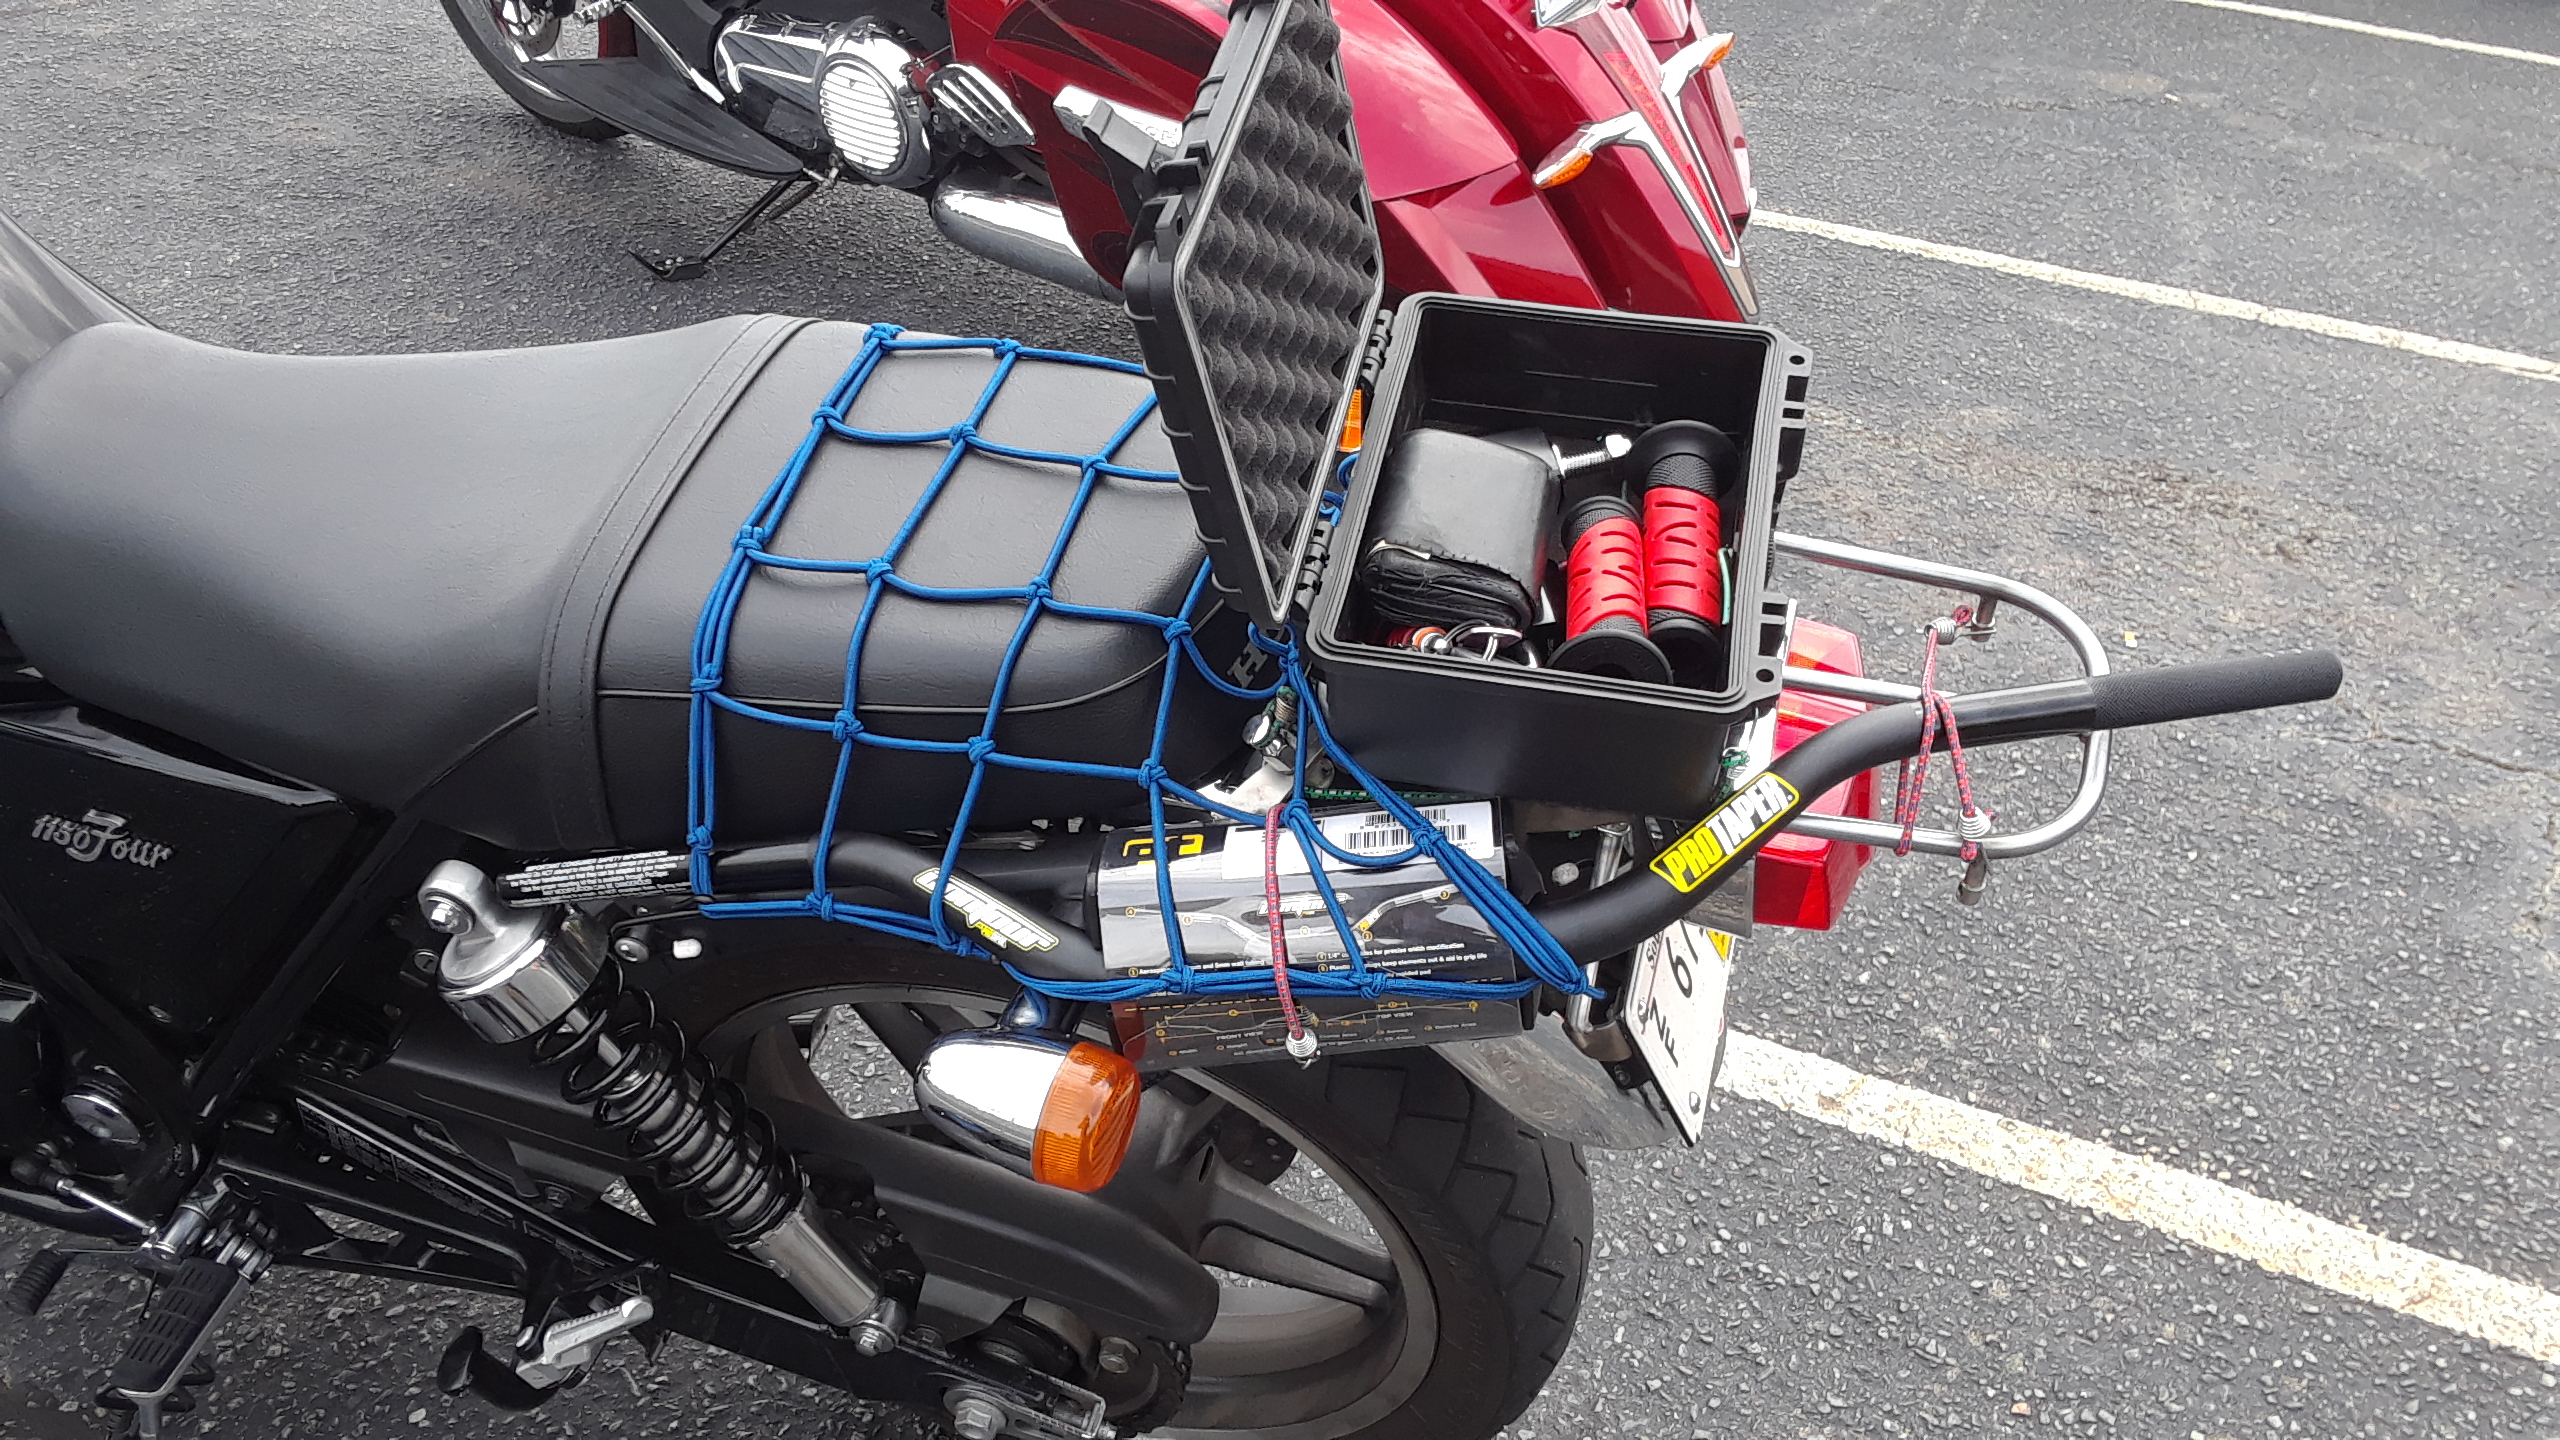
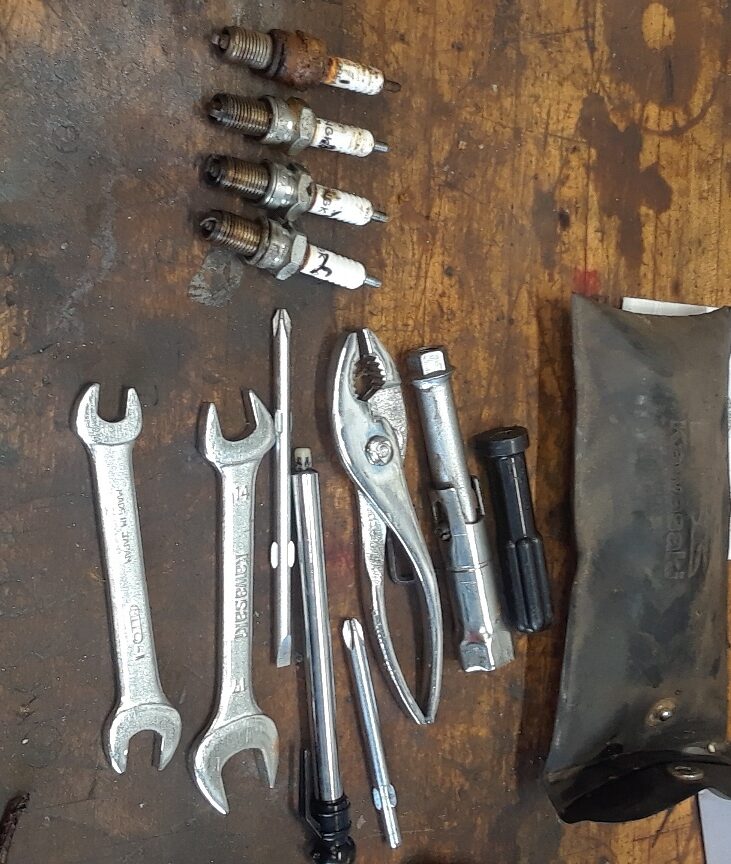
factory tool kit and plugs i pulled out. note the #1. #1 cap and wire i replaced as well, rainwater wasnt kind.
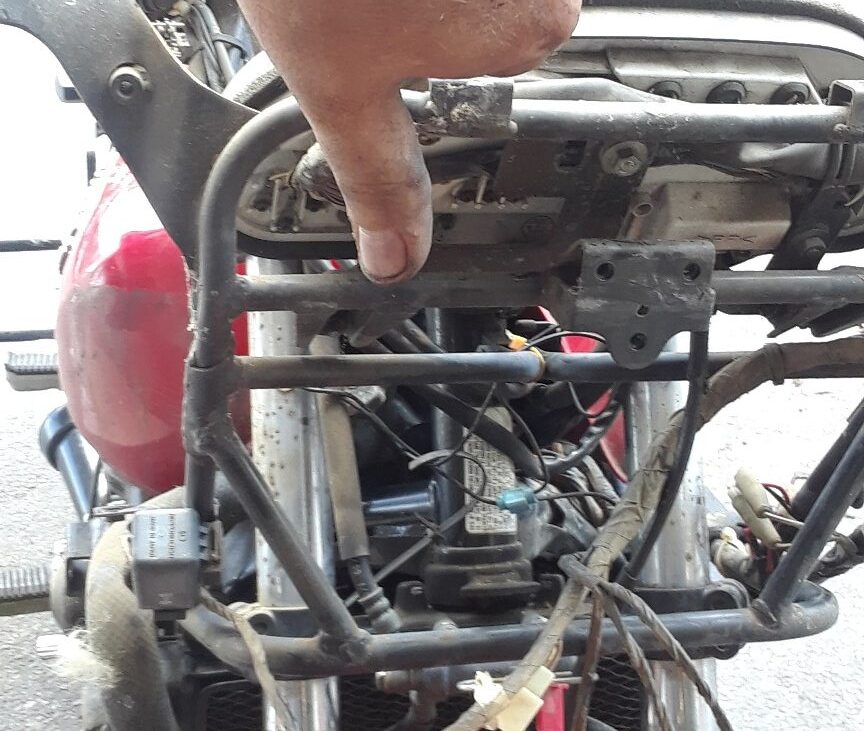
fairing birdcage, surprisingly not bent. this will eventually get transplanted onto my 99 which i KNOW is tweaked.
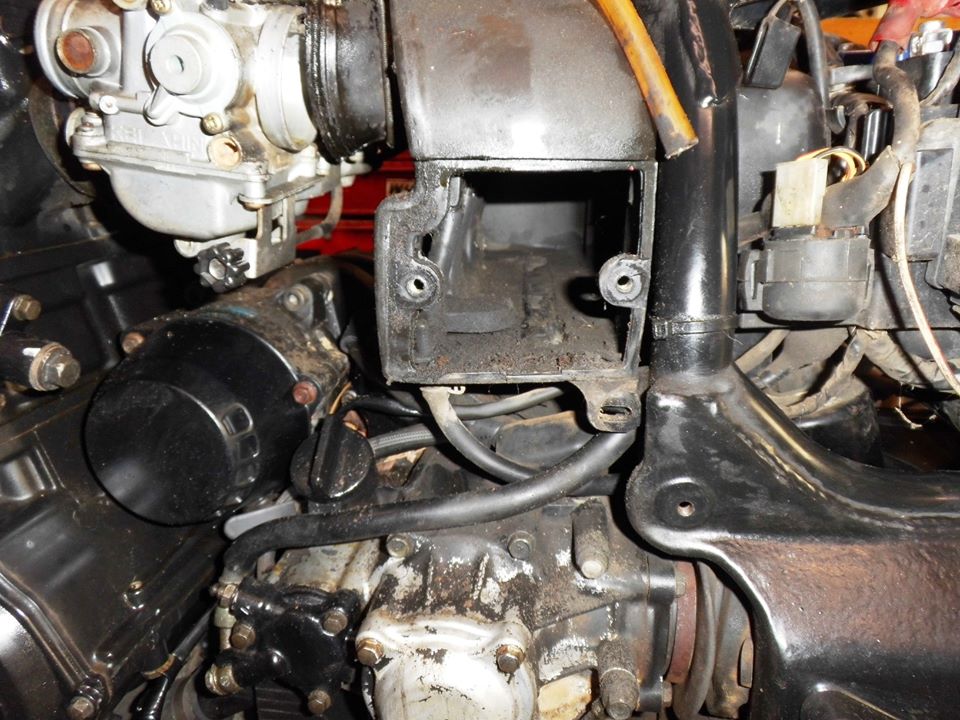
filter had disintegrated, new one on way. this is what formed in the airbox. cleaned it up when the carbs were off.
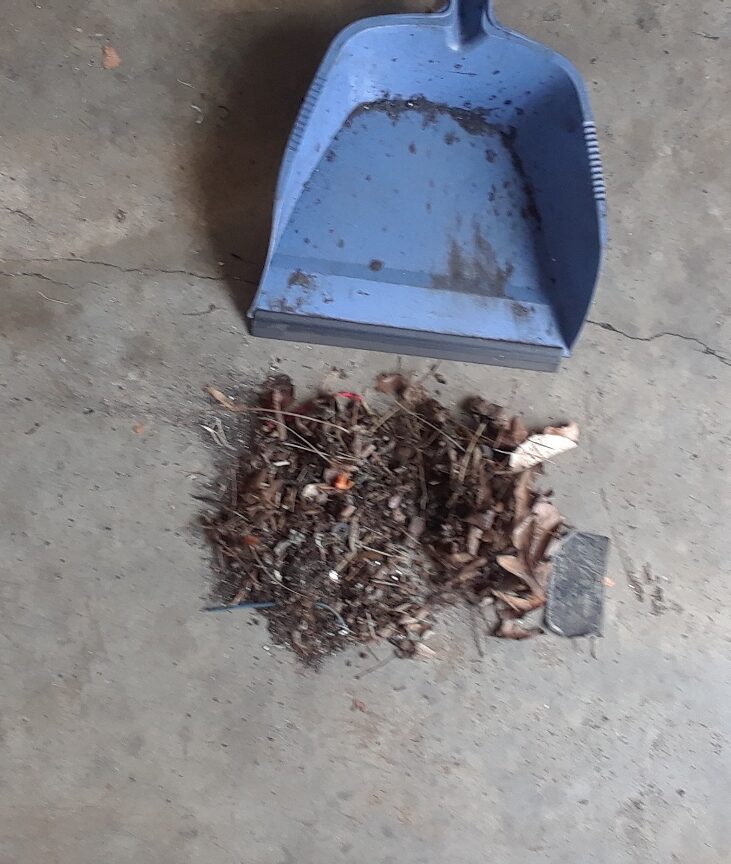
swept up the last of the pine needles, or so i thought.
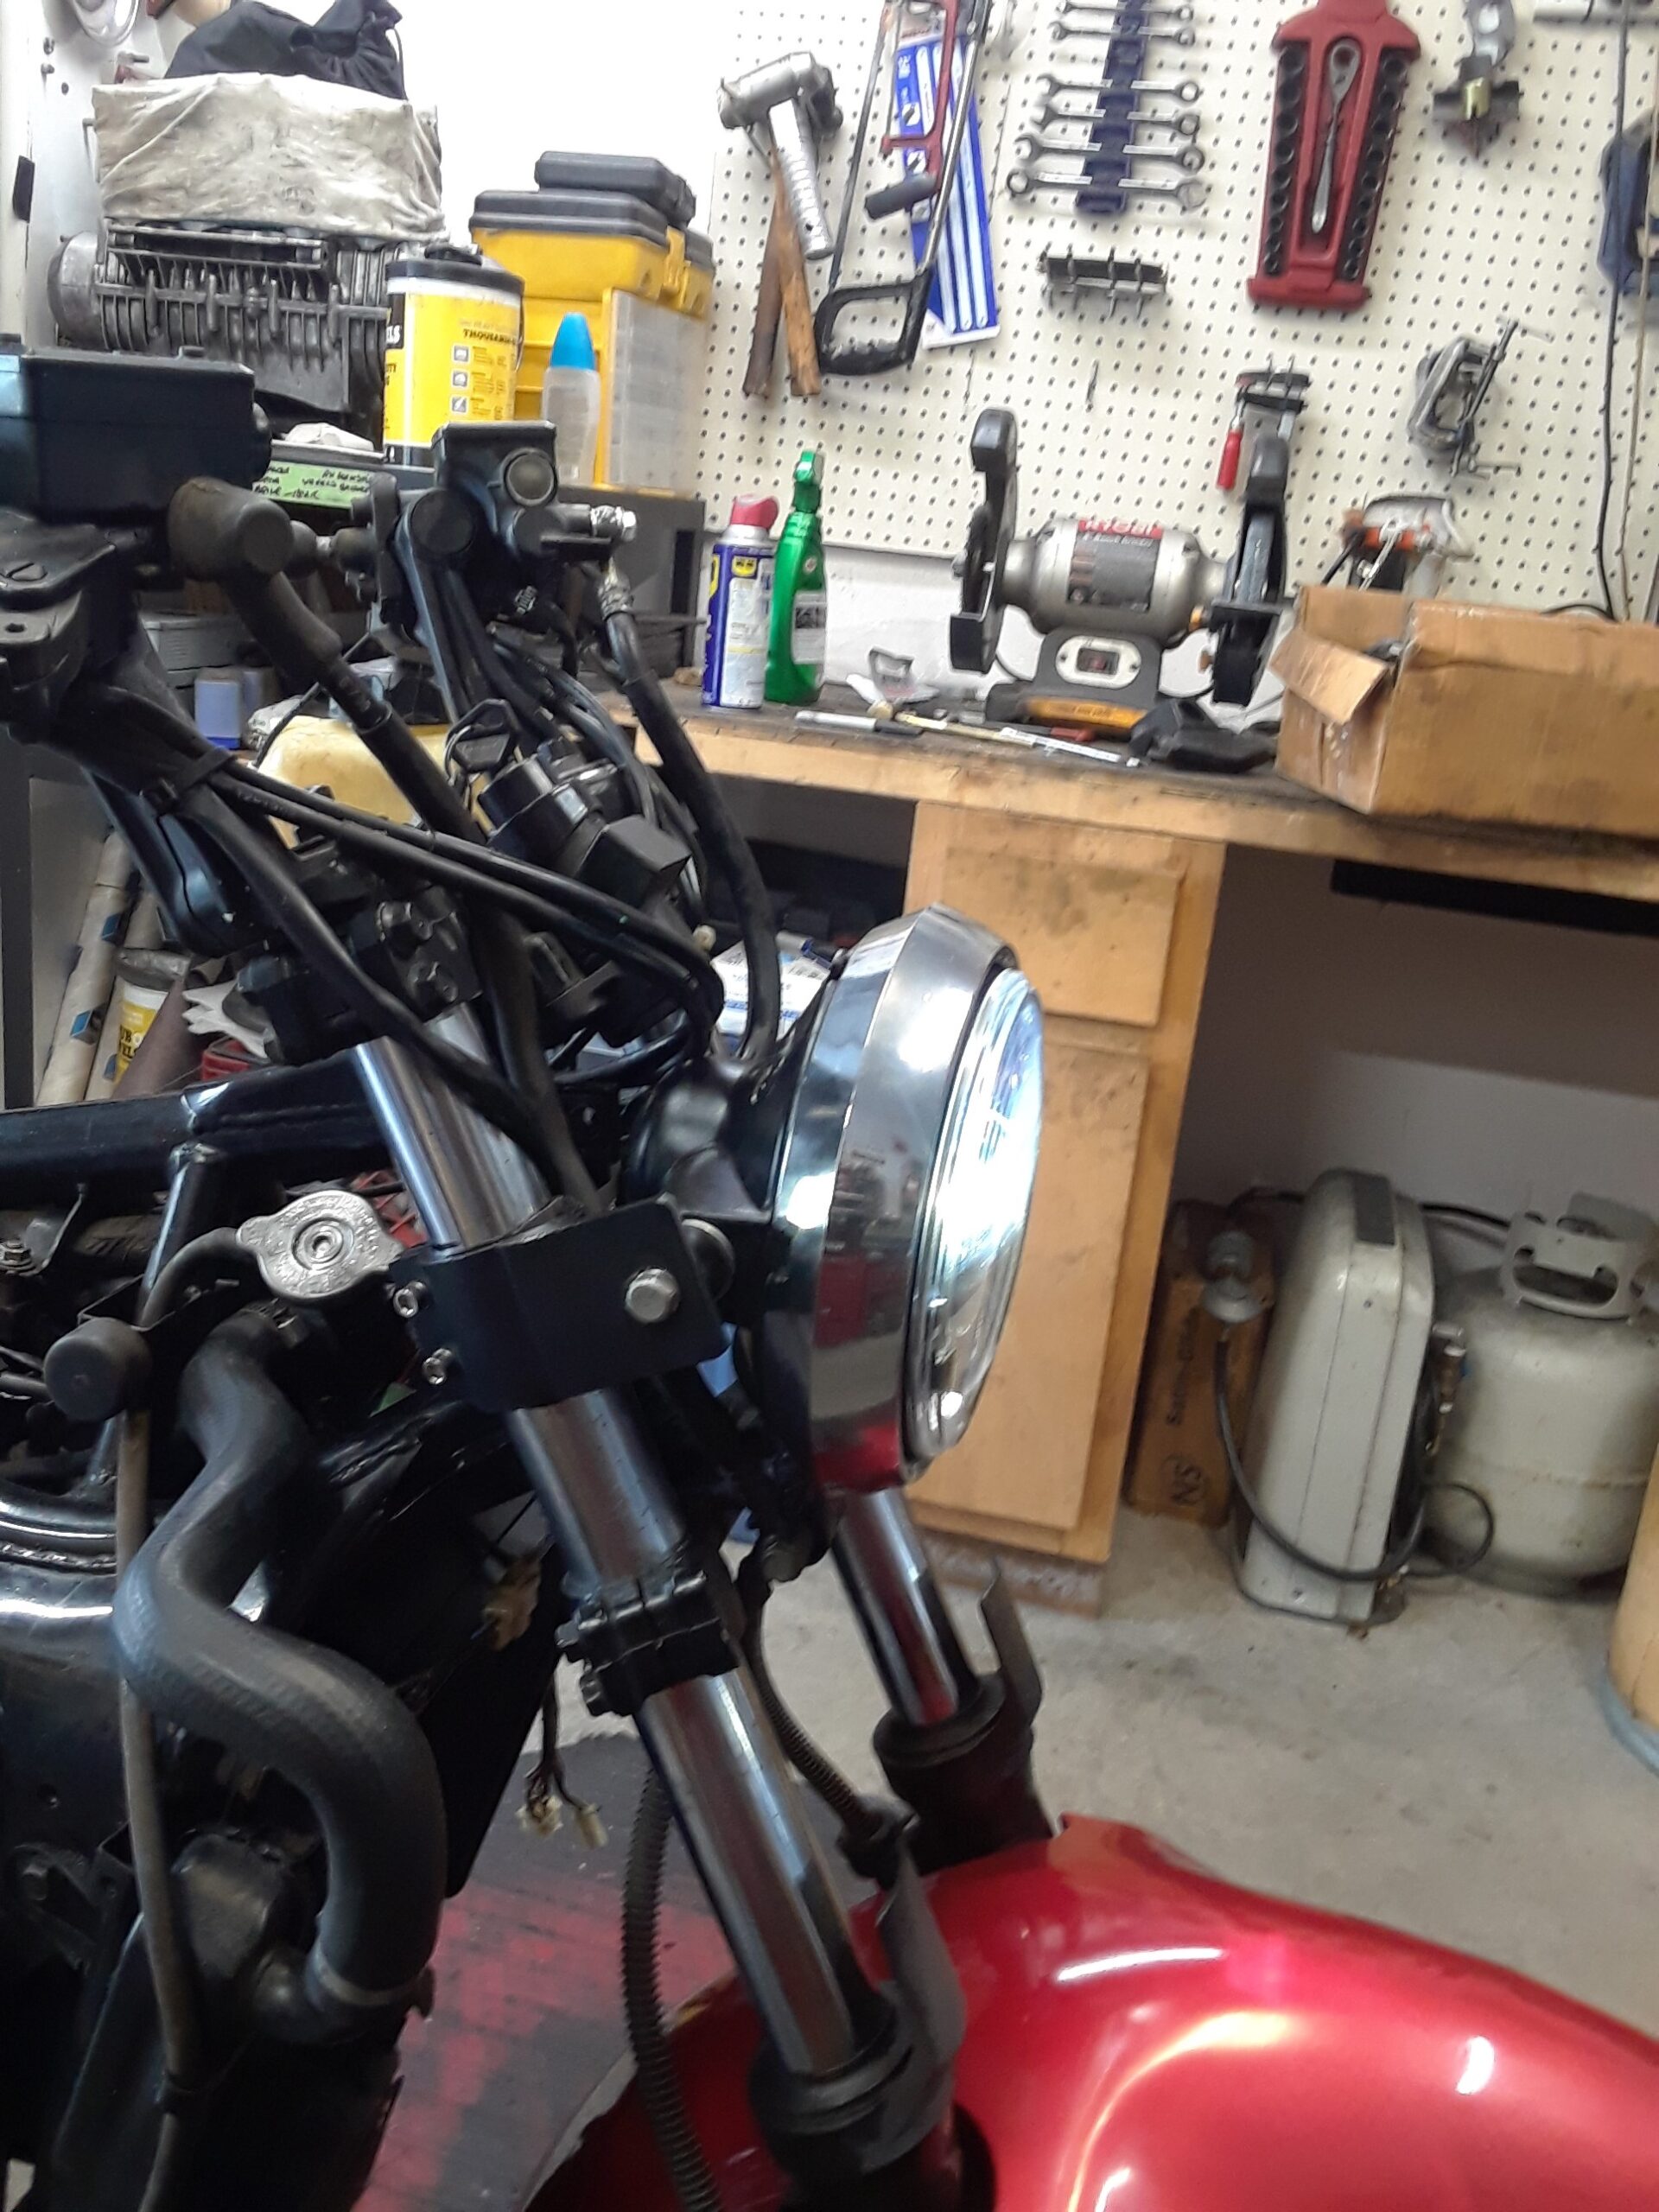
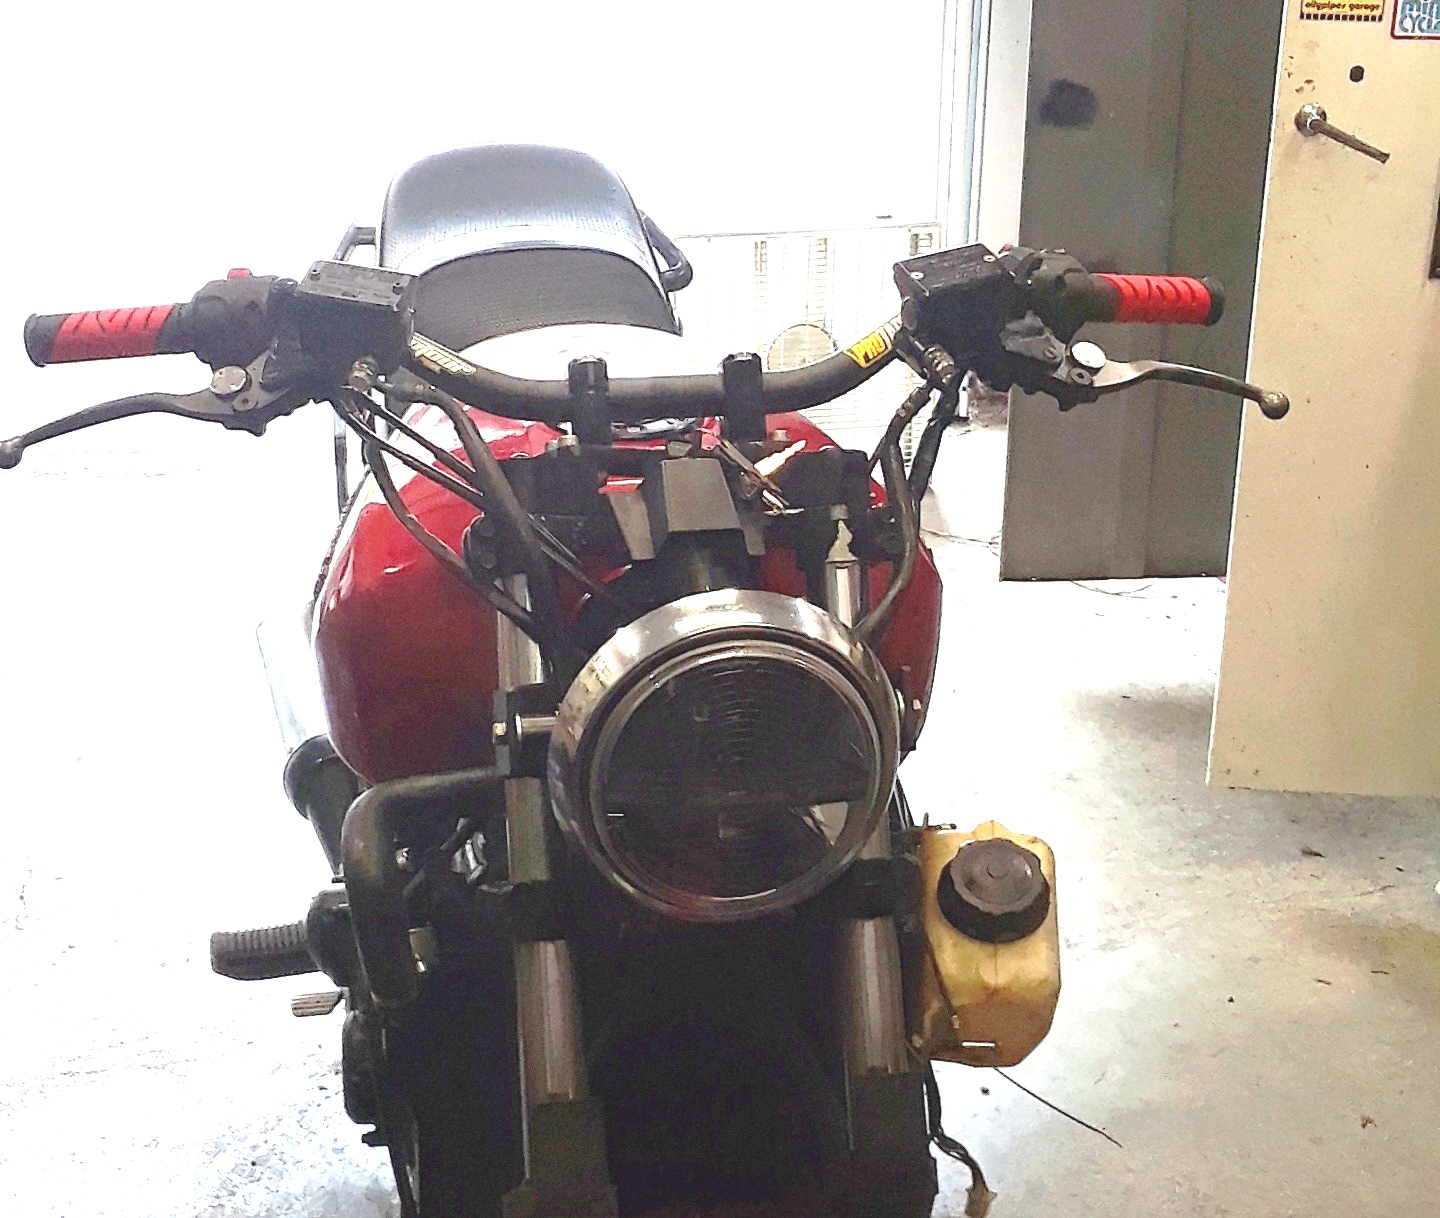
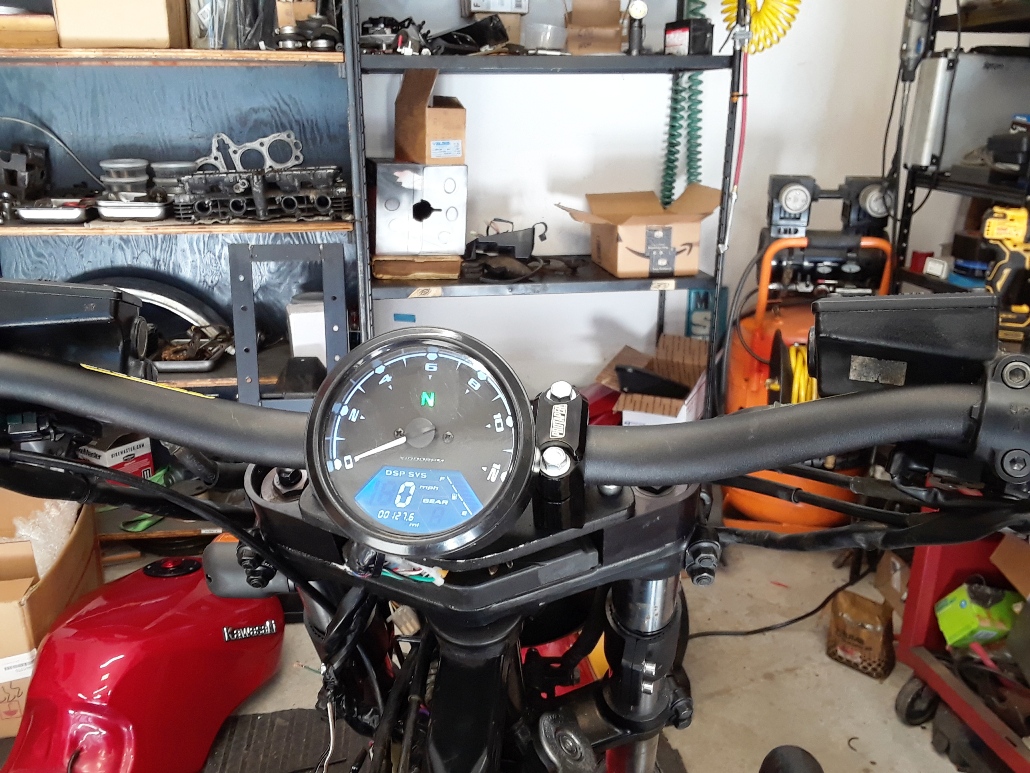
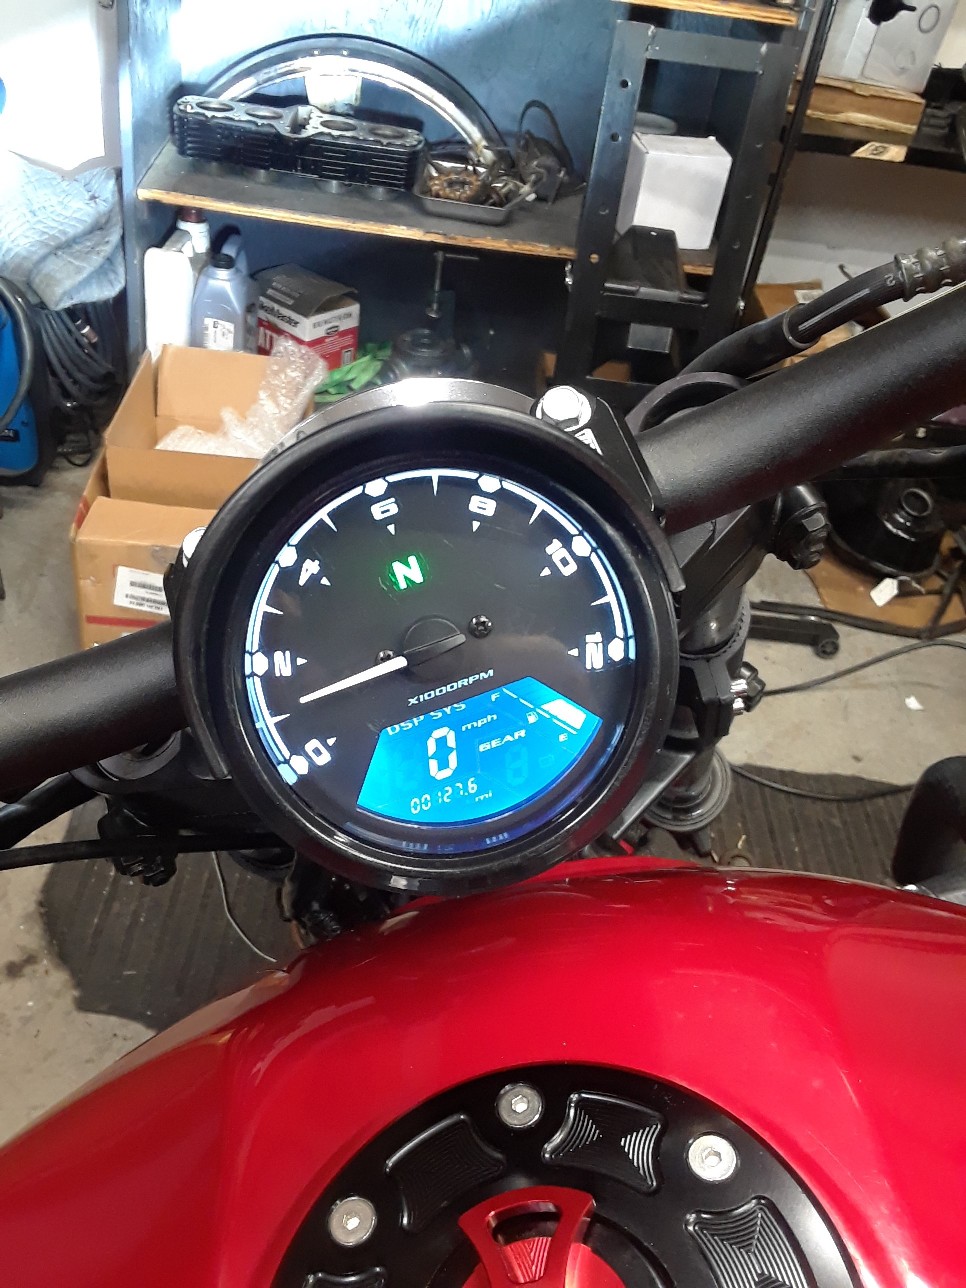
quick mockup of a vintage vetter headlamp with new led insert, 7" have different ears coming, i hate the cheap emgos ones.

EVERYONES FAVORITE: CARBS
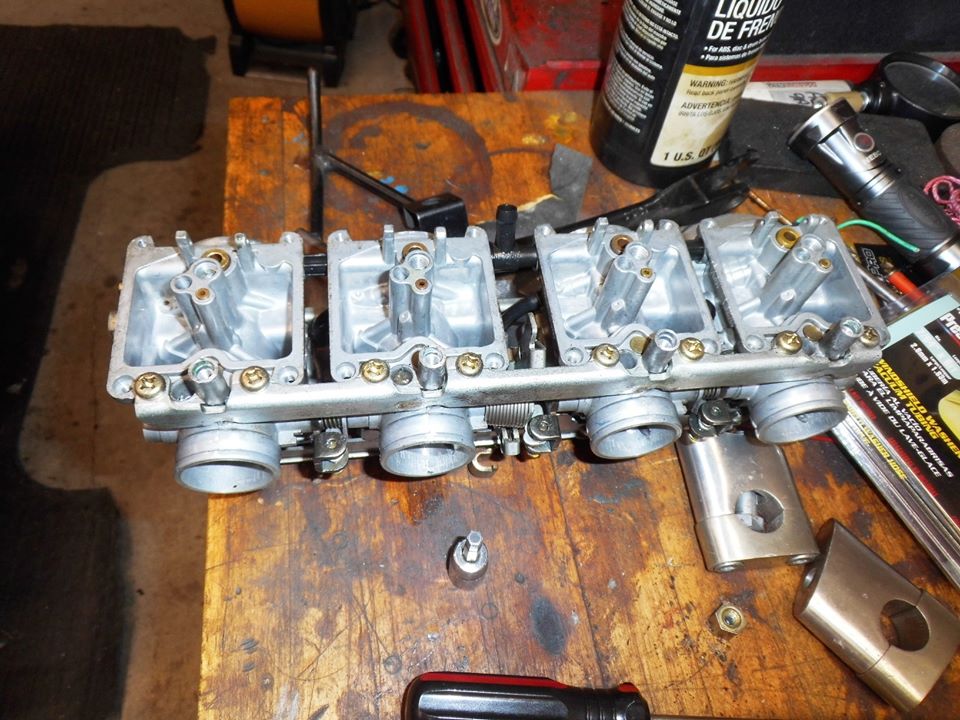
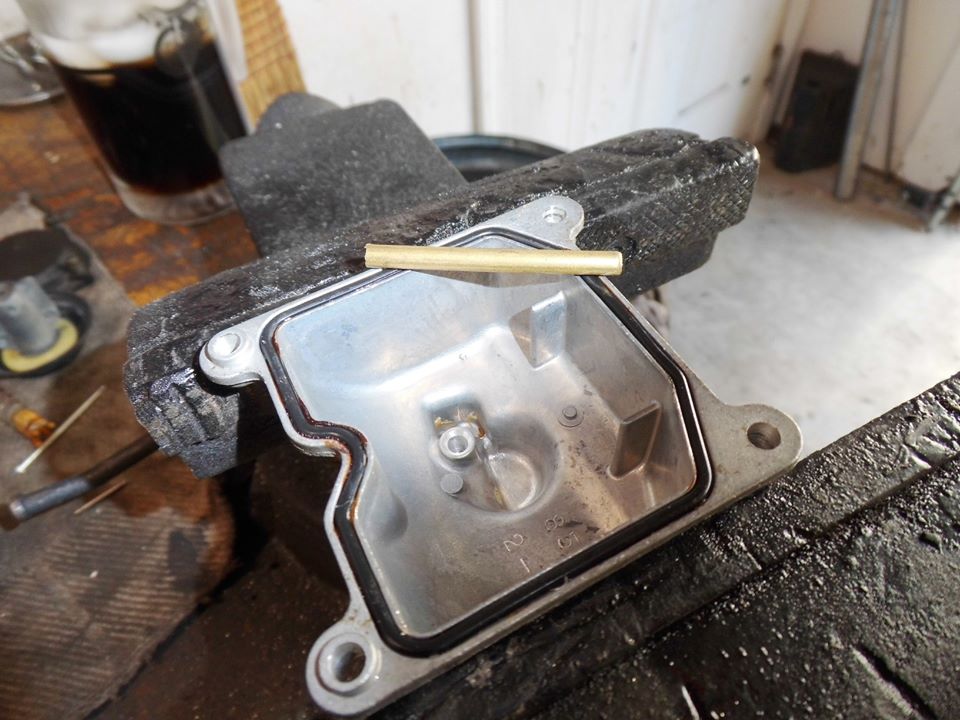
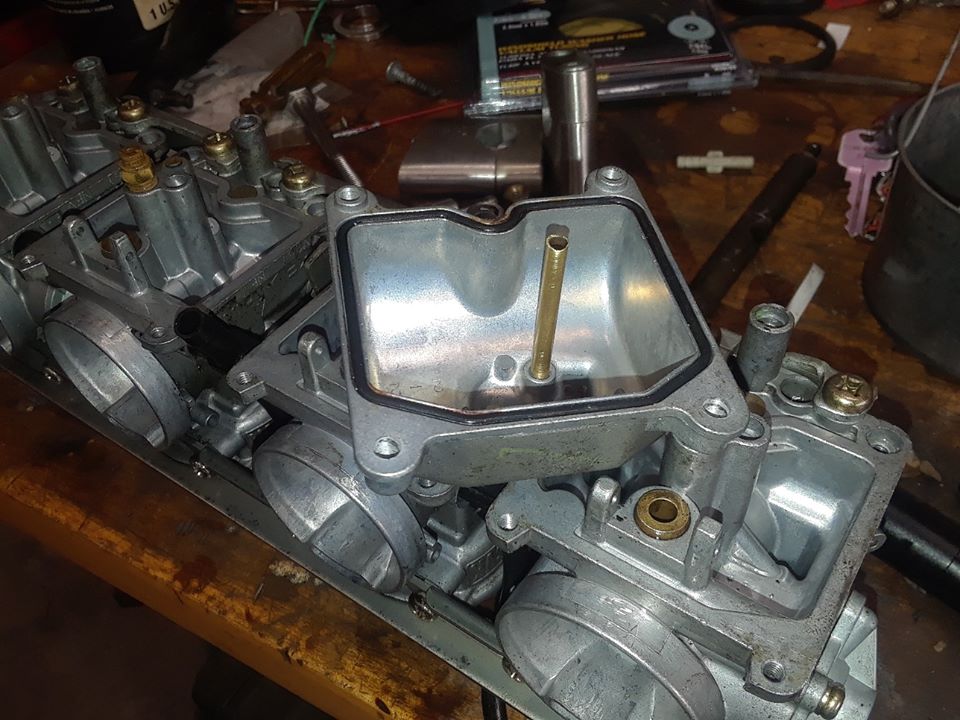
bowls were re-cleaned after addition of overflows in ultrasonic. squeaky clean now.") the mixture screw caps were still in place, so had to drill and remove those as well.
the mixture screw caps were still in place, so had to drill and remove those as well.
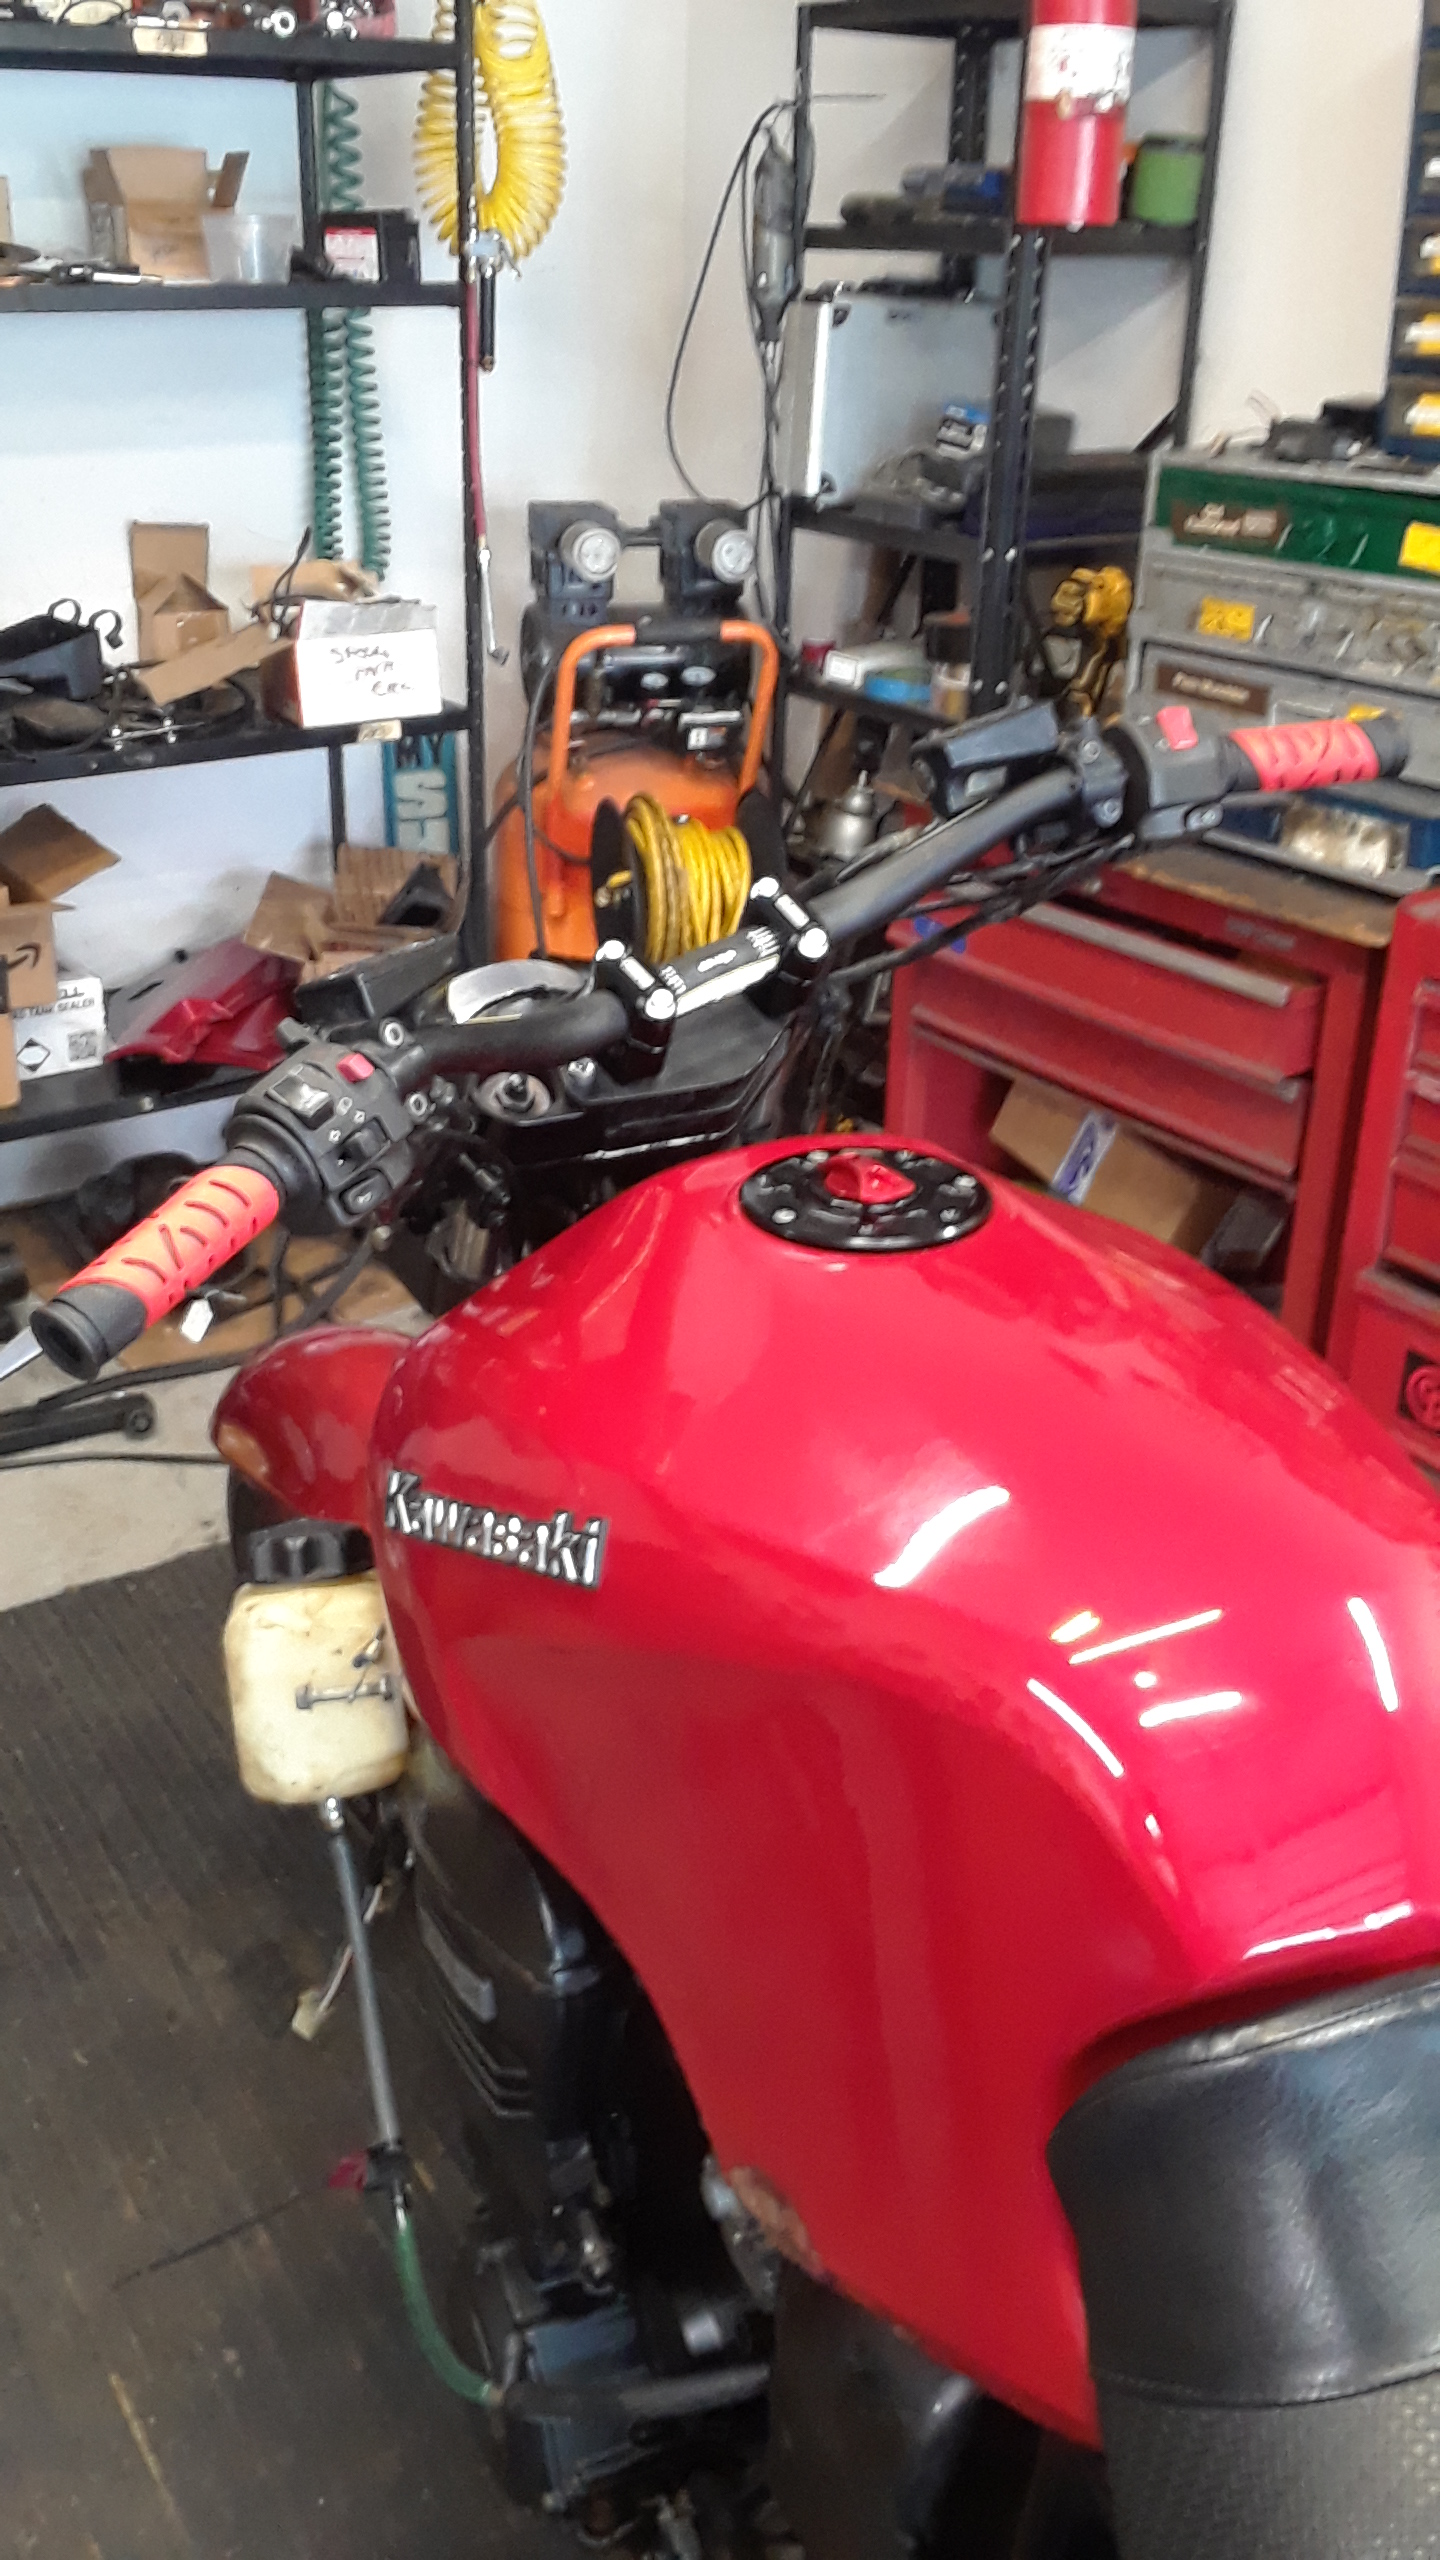
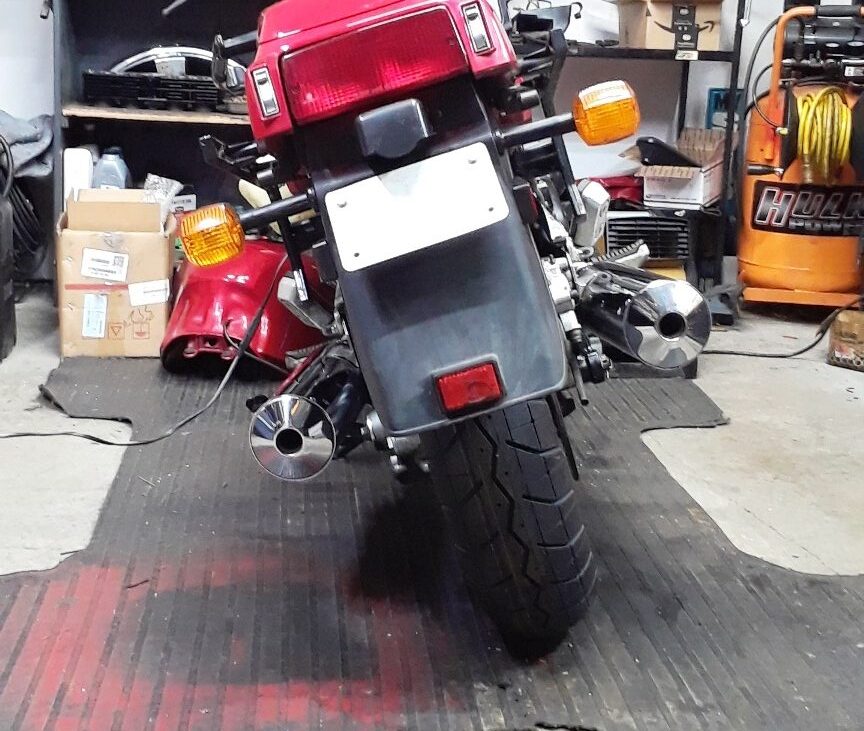
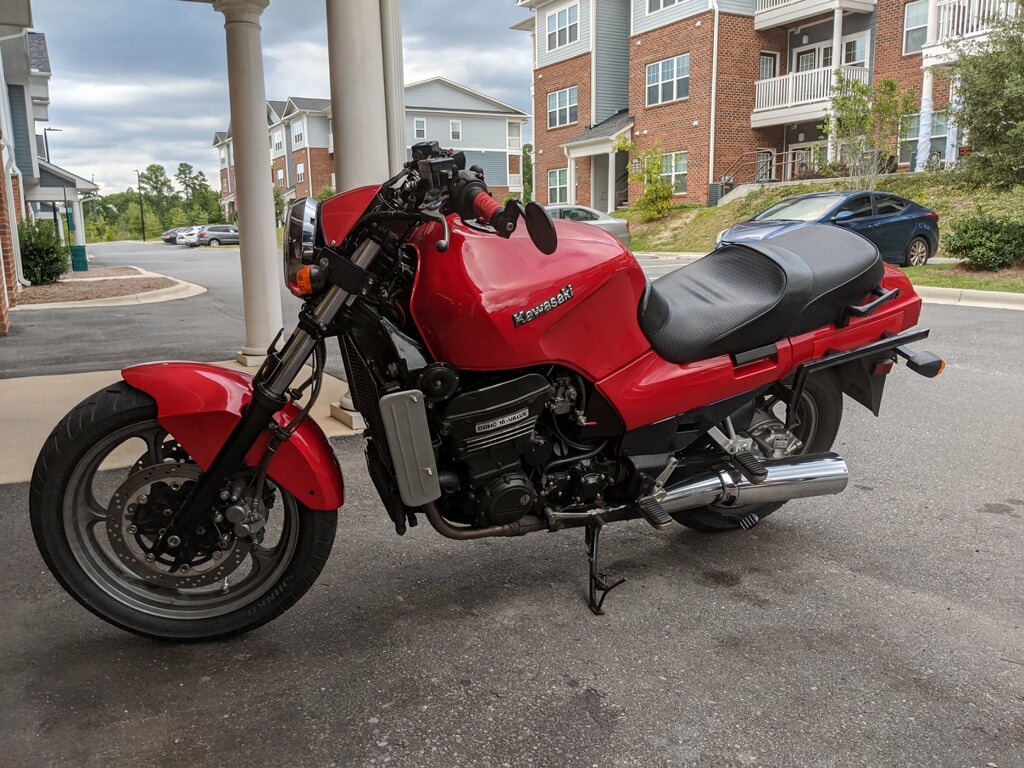
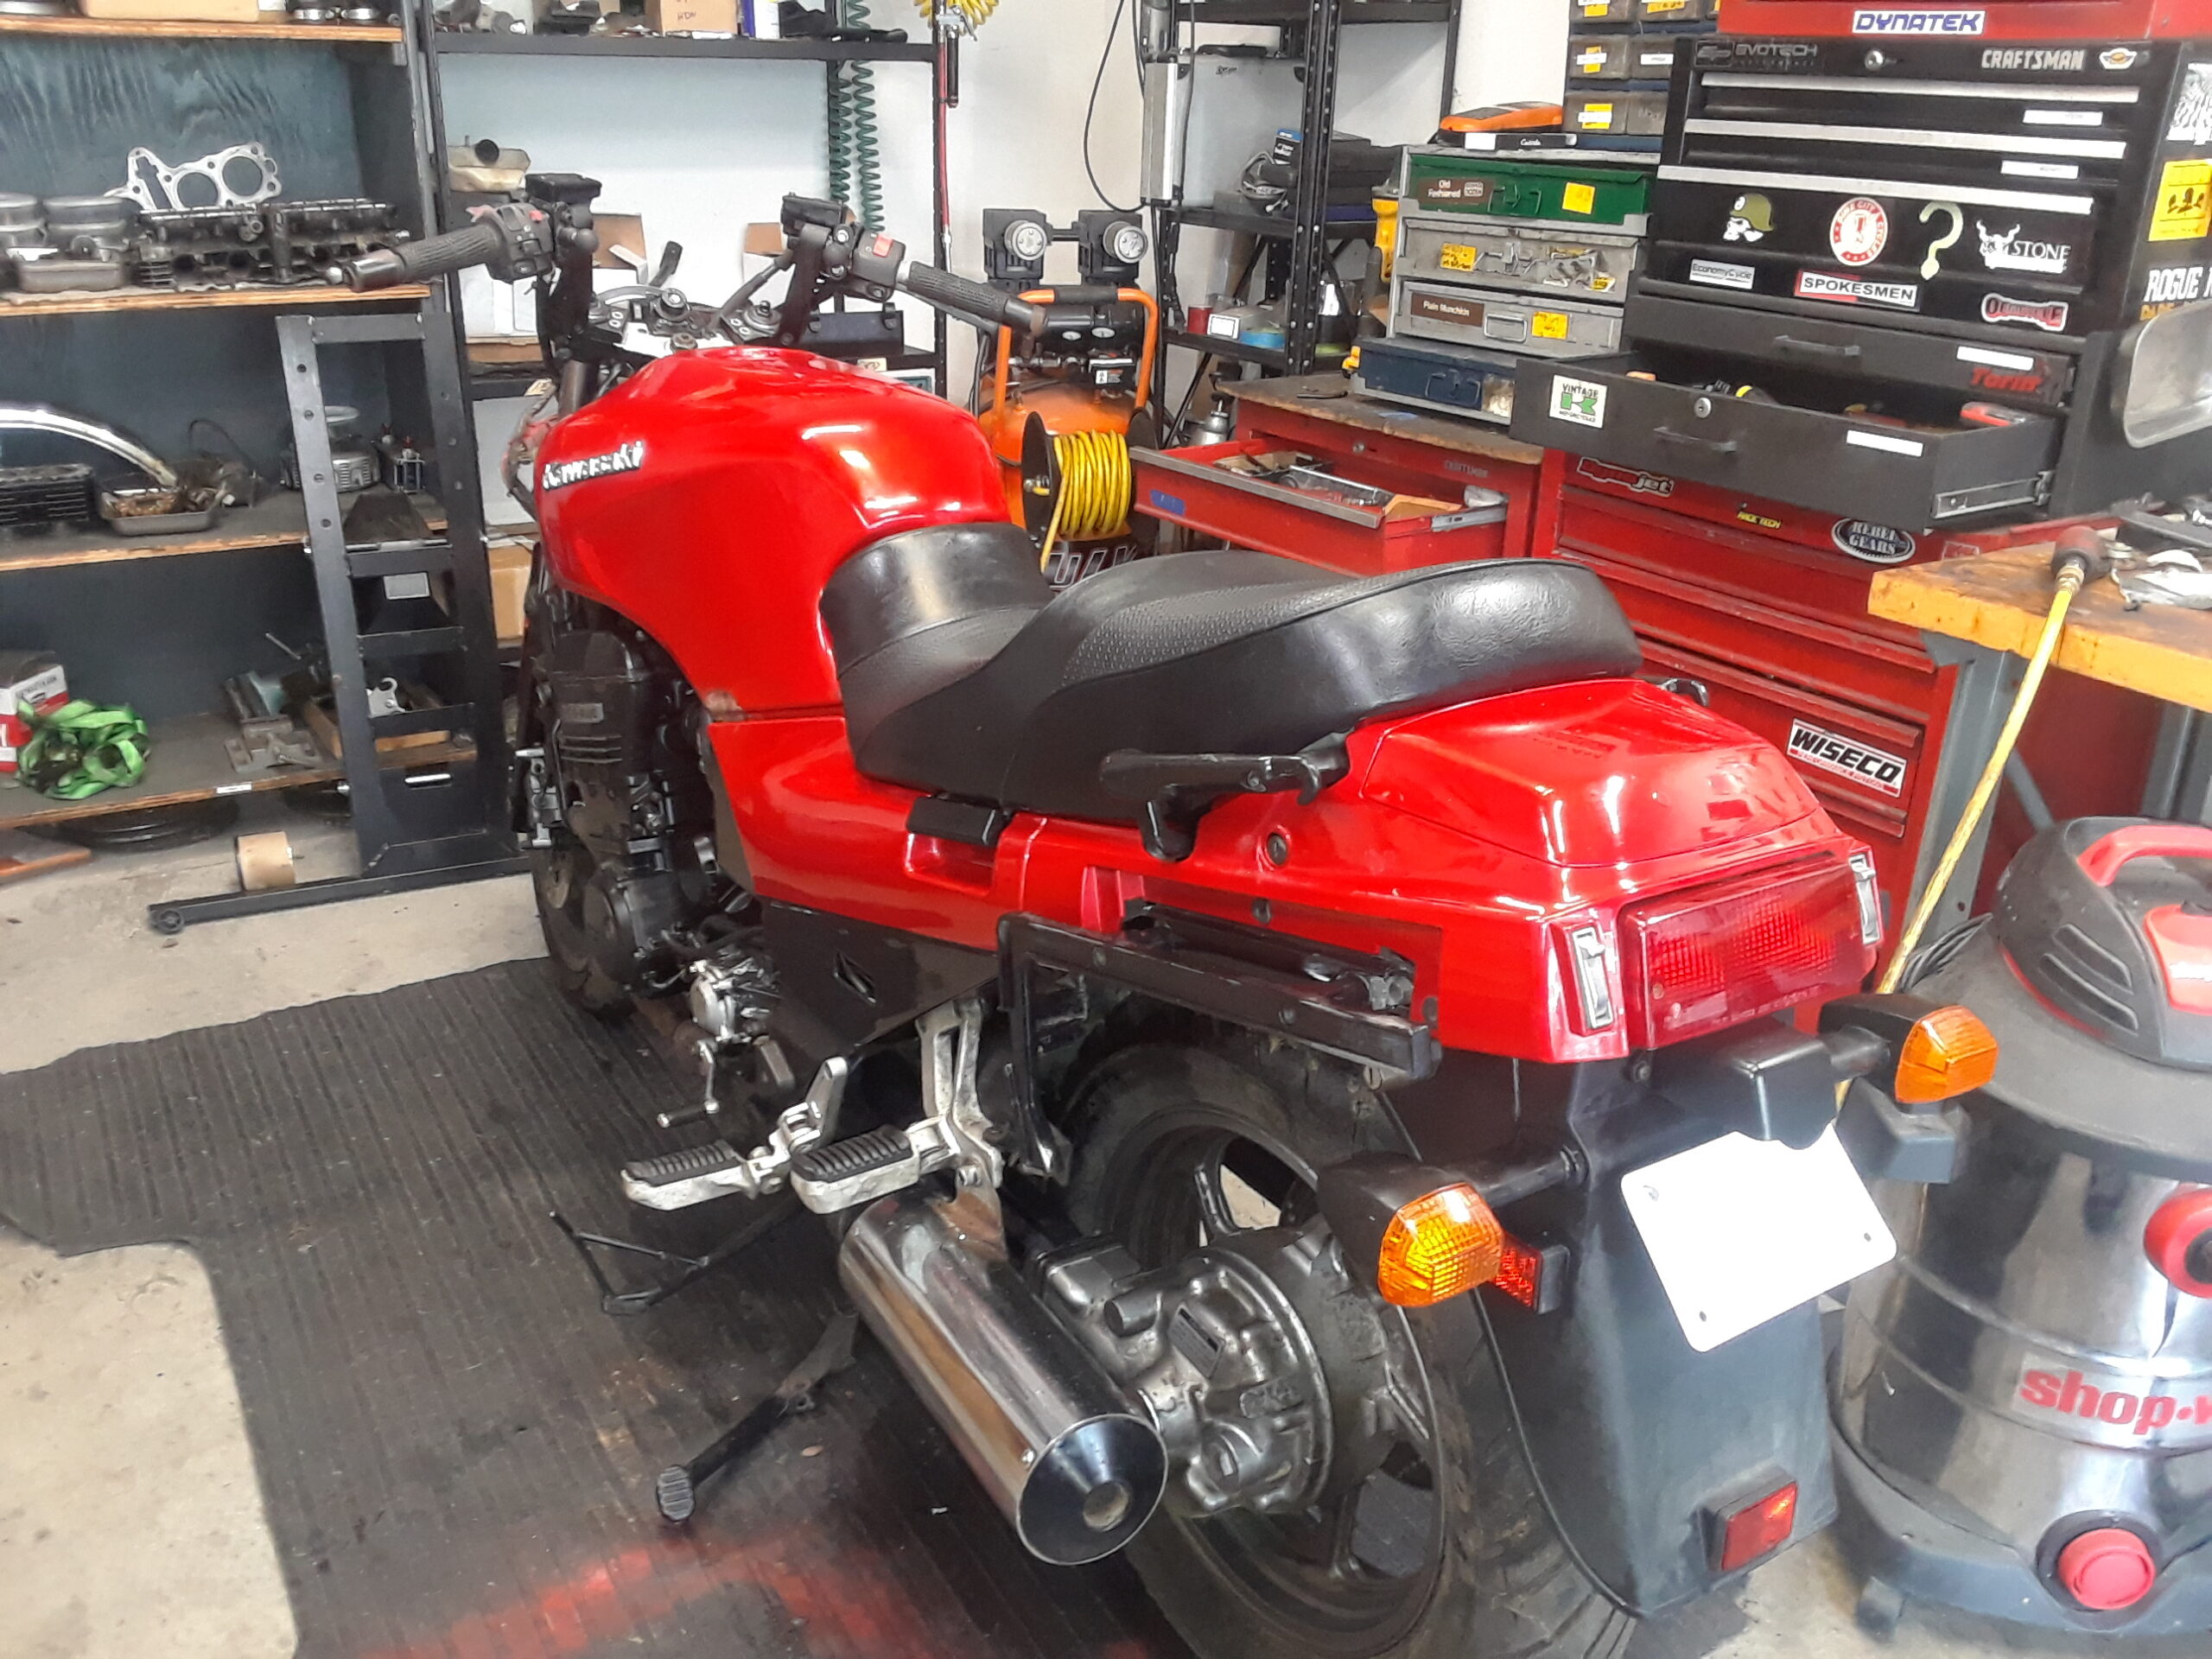
as its currently sitting waiting for parts and the caswell tank sealer. luckily i had a spare good seat leftover from the 99. this will be on hold for a few days as i have the 2 stroke meet at deals gap this weekend and most of next week.
as a funny note, when i got it running is when i discovered the failure of the rear coolant log. BUT, what also happened was there were still some rogue leaves and pine needles stuck above the header i hadnt seen. so, it was pouring water out the log AND simultaneously on fire on the front at the front of the motor. actual flames, not just smoldering. :rotflmao: zero damage but its pretty funny, to me.
so, a few weeks ago we sorted it out and picked it up, great experience, and i dragged it home. Now, it had been sitting outside, in Charlotte, under trees for 4 years due to family commitments, as I get it. But, damage was def done as happens.
since the front fairing had some damage and more importantly had been cut under the headlight, i had no use for it, so off it went. i saved everything else out of it as some is in way better shape than mince which had previously taken a RH spill.
anyway, upon getting it home and a trip to the carwash to get rid of the pine needles and leaves and 4 years of 'outside, i got it home and pulled the plugs, installed a battery, disconnected the coils and spun it over. oil light immediately went out and compression with no sign of hydro-lock. score.
the tank had a pinhole so no fuel, which actually probably saved it from that fate.
took about an hour of fiddling and disassembly but got it running on a remote tank, motor sounded healthy.
so of course, now to do everything else. brakes: stuck. carbs, well, you know. leaves. leaking rear coolant log (rusted through). clutch hydraulics flushed and bled. (had no action). remove a lot of accessory wiring and the crash bars and light s (my buddy w the 01 is getting those).
and just general cleaning. need to seal the tank and replace the petcock , so still getting parts streaming ion now.
is is going to be some wild hot rod super modified naked concours? no, absolutely not. more gpz with luggage and manners. the fairing has its place but ones enough.
few pics here and there:
as bought:
factory tool kit and plugs i pulled out. note the #1. #1 cap and wire i replaced as well, rainwater wasnt kind.
fairing birdcage, surprisingly not bent. this will eventually get transplanted onto my 99 which i KNOW is tweaked.
filter had disintegrated, new one on way. this is what formed in the airbox. cleaned it up when the carbs were off.
swept up the last of the pine needles, or so i thought.
quick mockup of a vintage vetter headlamp with new led insert, 7" have different ears coming, i hate the cheap emgos ones.
EVERYONES FAVORITE: CARBS
bowls were re-cleaned after addition of overflows in ultrasonic. squeaky clean now.
the mixture screw caps were still in place, so had to drill and remove those as well. as its currently sitting waiting for parts and the caswell tank sealer. luckily i had a spare good seat leftover from the 99. this will be on hold for a few days as i have the 2 stroke meet at deals gap this weekend and most of next week.
as a funny note, when i got it running is when i discovered the failure of the rear coolant log. BUT, what also happened was there were still some rogue leaves and pine needles stuck above the header i hadnt seen. so, it was pouring water out the log AND simultaneously on fire on the front at the front of the motor. actual flames, not just smoldering. :rotflmao: zero damage but its pretty funny, to me.