
Ok - Committing to start changing / balancing my own tires. Lots of information on the site.
Possibly a tire changer in the future, unless I can be convinced otherwise, I would like to start with the best manual tools.
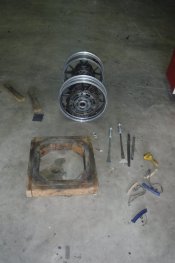
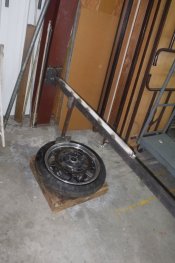
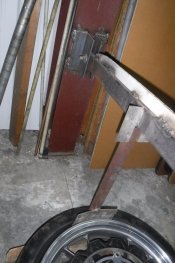
While an actual tire changer (may be that is best) what is a list of the ‘made for the job’ tools I need to change my tires myself?
One note: Prefer to avoid buying Kawasaki over-priced tools if possible.
Will provide my review for others considering changing own tires. Dealership prices too high when changing tires 3+ times a season...
Possibly a tire changer in the future, unless I can be convinced otherwise, I would like to start with the best manual tools.
While an actual tire changer (may be that is best) what is a list of the ‘made for the job’ tools I need to change my tires myself?
One note: Prefer to avoid buying Kawasaki over-priced tools if possible.
Will provide my review for others considering changing own tires. Dealership prices too high when changing tires 3+ times a season...
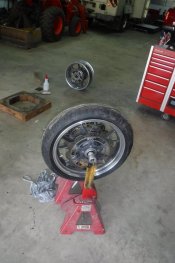


 that is quite the machine. Is this large enough to do car tires too?
")
 backing those words of advice (If so Thank You for your sacrifice!)....