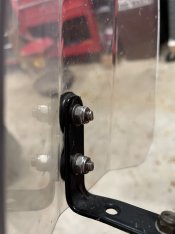
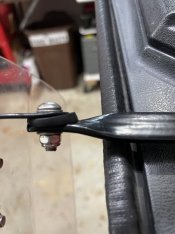
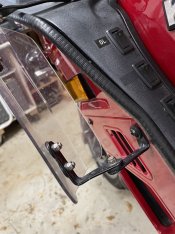
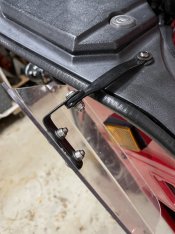
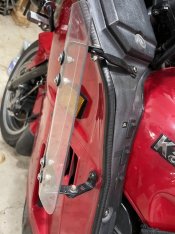
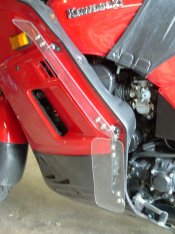
Just received and installed up top, left stock pieces in place down below (although they have been reversed.)
Man what a difference!
After install I took a spin around my lake, and instantly felt the wind flow.
How nice to receive a product that is obviously VERY well made, with easy to follow instructions!
Highly recommend if anyone is on the fence.
Man what a difference!
After install I took a spin around my lake, and instantly felt the wind flow.
How nice to receive a product that is obviously VERY well made, with easy to follow instructions!
Highly recommend if anyone is on the fence.