
BOOTH
Scooter
Having ridden for a couple of years with the Gerbing heated liner and gloves, adding it to the Connie was one of the first things on my list. Of course, it didn't stay there since it clearly took me 5 months and 8k miles to get to it.
On the cruiser, I just had a pigtail that ran out from under the seat, but for the Connie I decided to hardwire the entire set up.
First, from Revzilla, I ordered 2 Gerbing Panel Mounted Ports and the Permanent Dual Temp Controller. This is all you'll need.
http://www.revzilla.com/motorcycle/gerbings-panel-mounted-port
http://www.revzilla.com/motorcycle/gerbings-permanent-dual-temp-controller
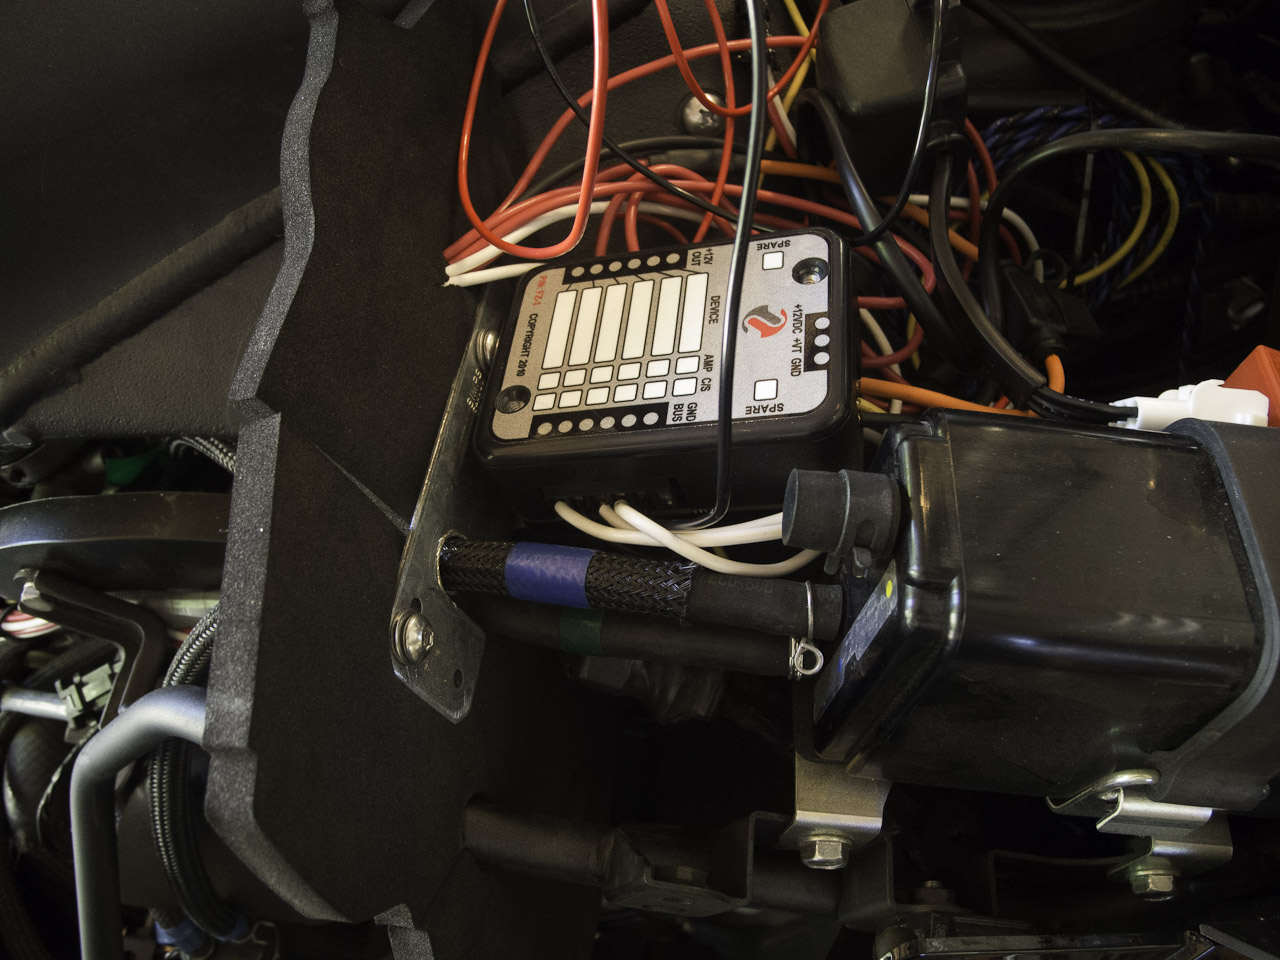
I installed quite a bit of stuff at the same time, so I opted for a Fuzeblocks FZ-1 and installed it under the front right top panel.
http://www.fuzeblocks.com/index.php?pid=1#board
For the install locations, I chose the left panel under the front seat and the front left top panel for the controls.
This required removing the gas tank and all assorted panels. My advice? Block out about 6 hours, make sure you've watched Fred Harmon's C-14 videos on panel removal.
http://forum.cog-online.org/index.php/topic,20898.msg77096/topicseen.html#msg77096
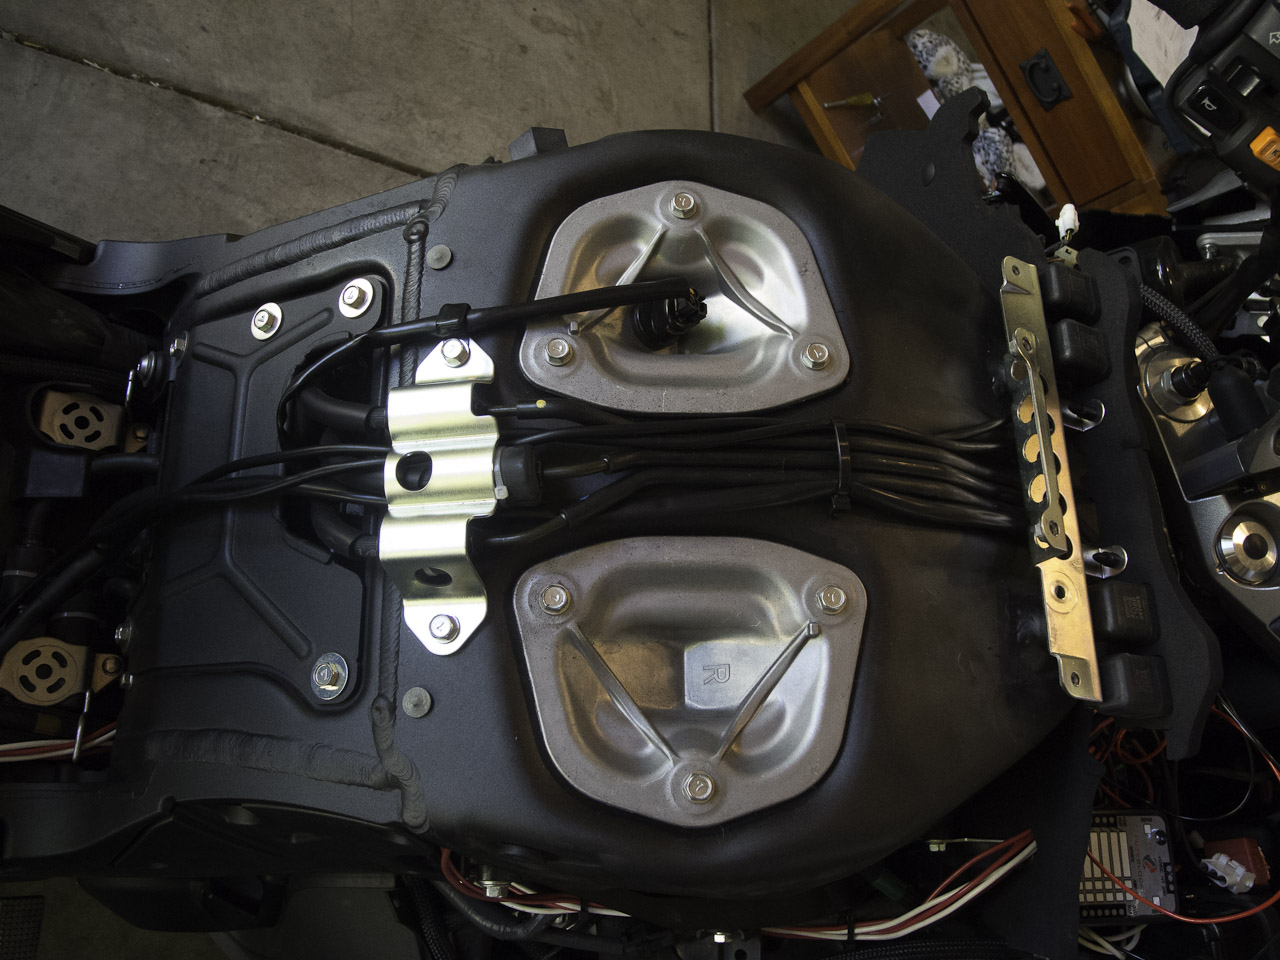
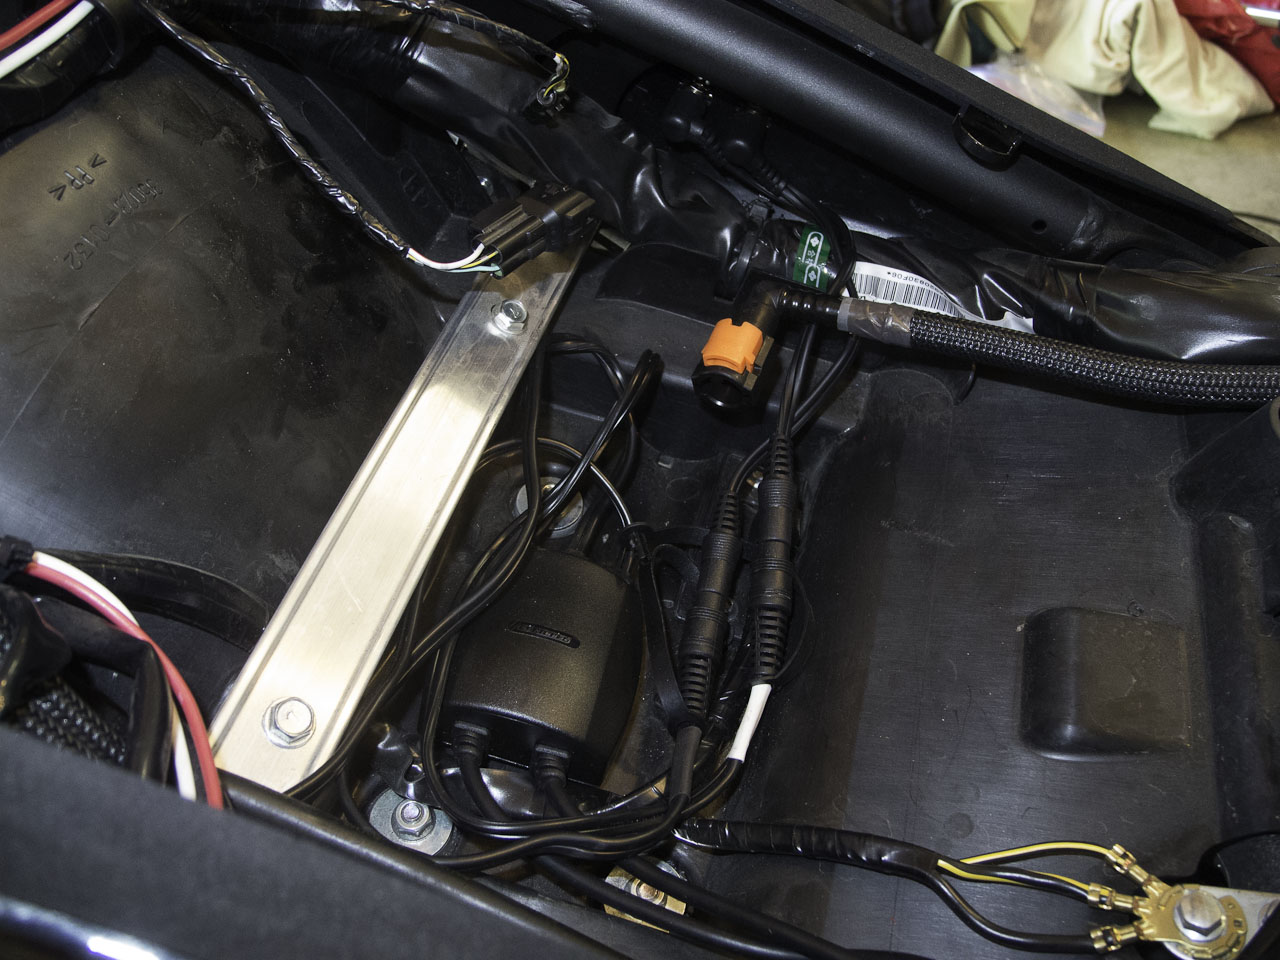
1. With the tank off, I placed the control module underneath the gas tank with a strip of industrial velcro:
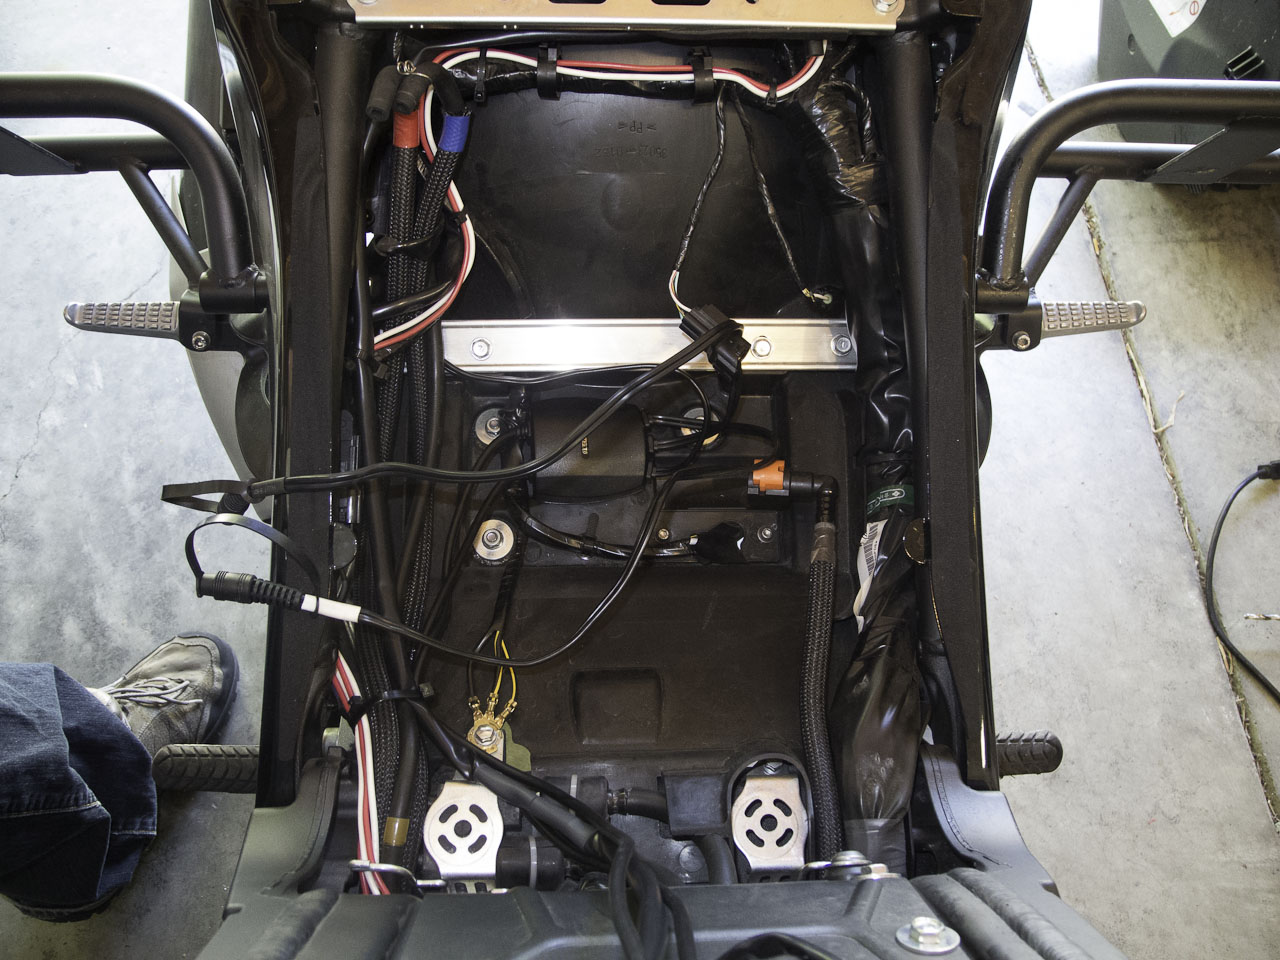
2. I ran the wires up the center of the bike and attached them to the Fuzeblock.
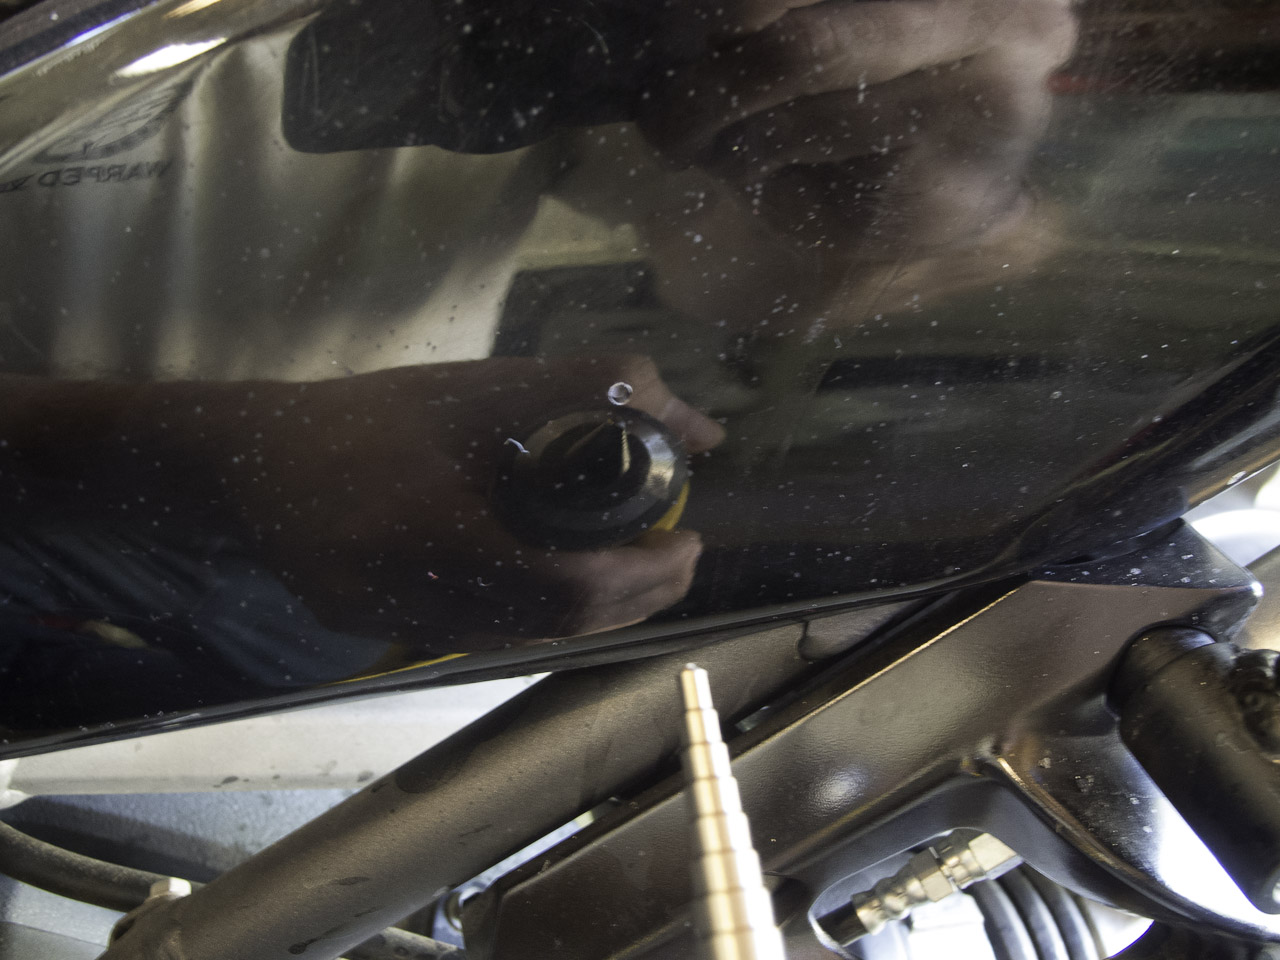
3. Then, making sure I didn't hit anything on the back side of the left panel, I drilled two holes the prescribed size, starting with a pilot hole and then using a step-drill to get to the correct size. (Yes, I actually read the instructions - take my man card away if you can find it!) :rotflmao:
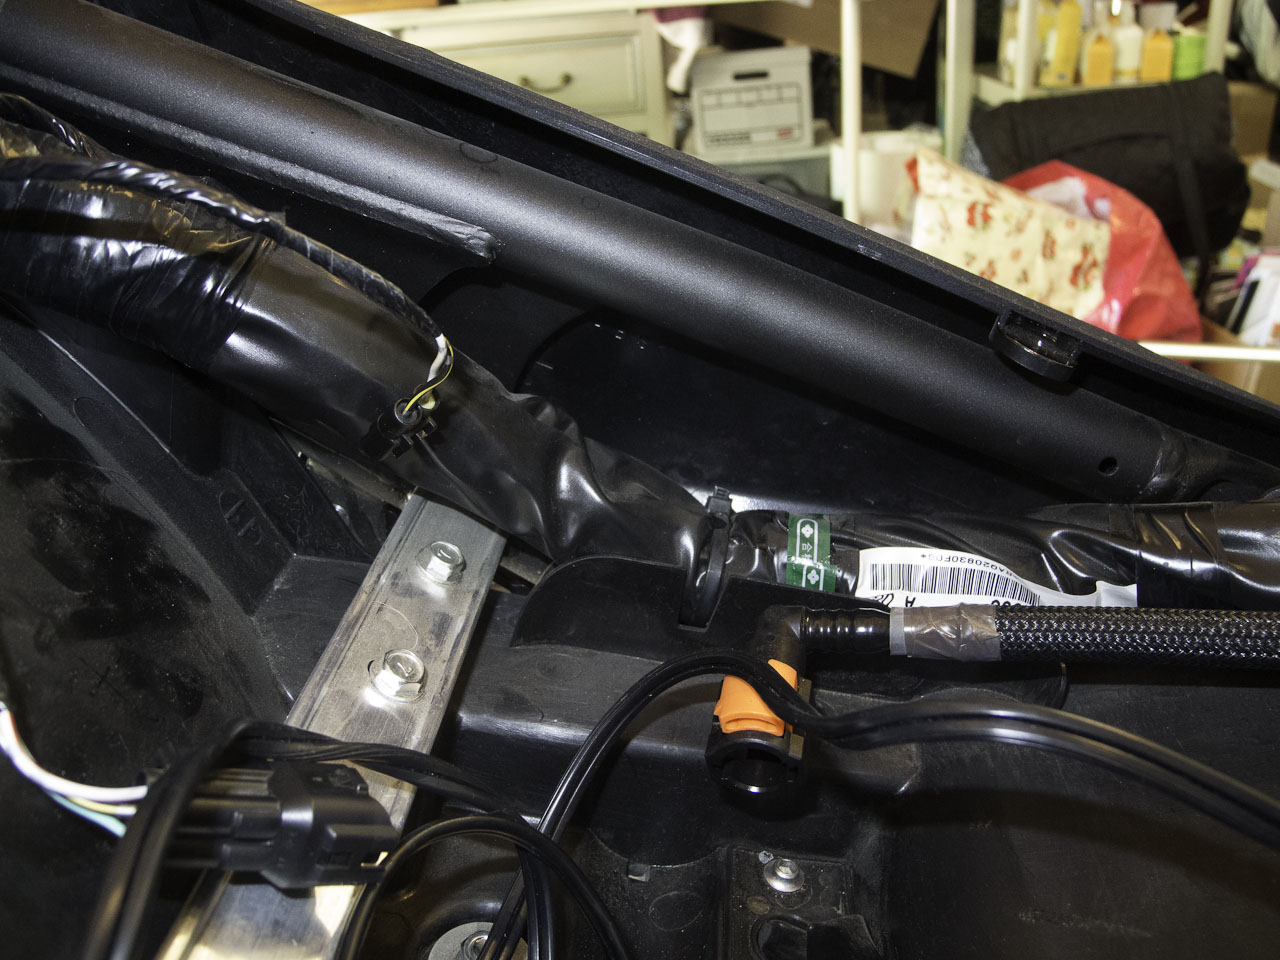
The back view
Pilot hole
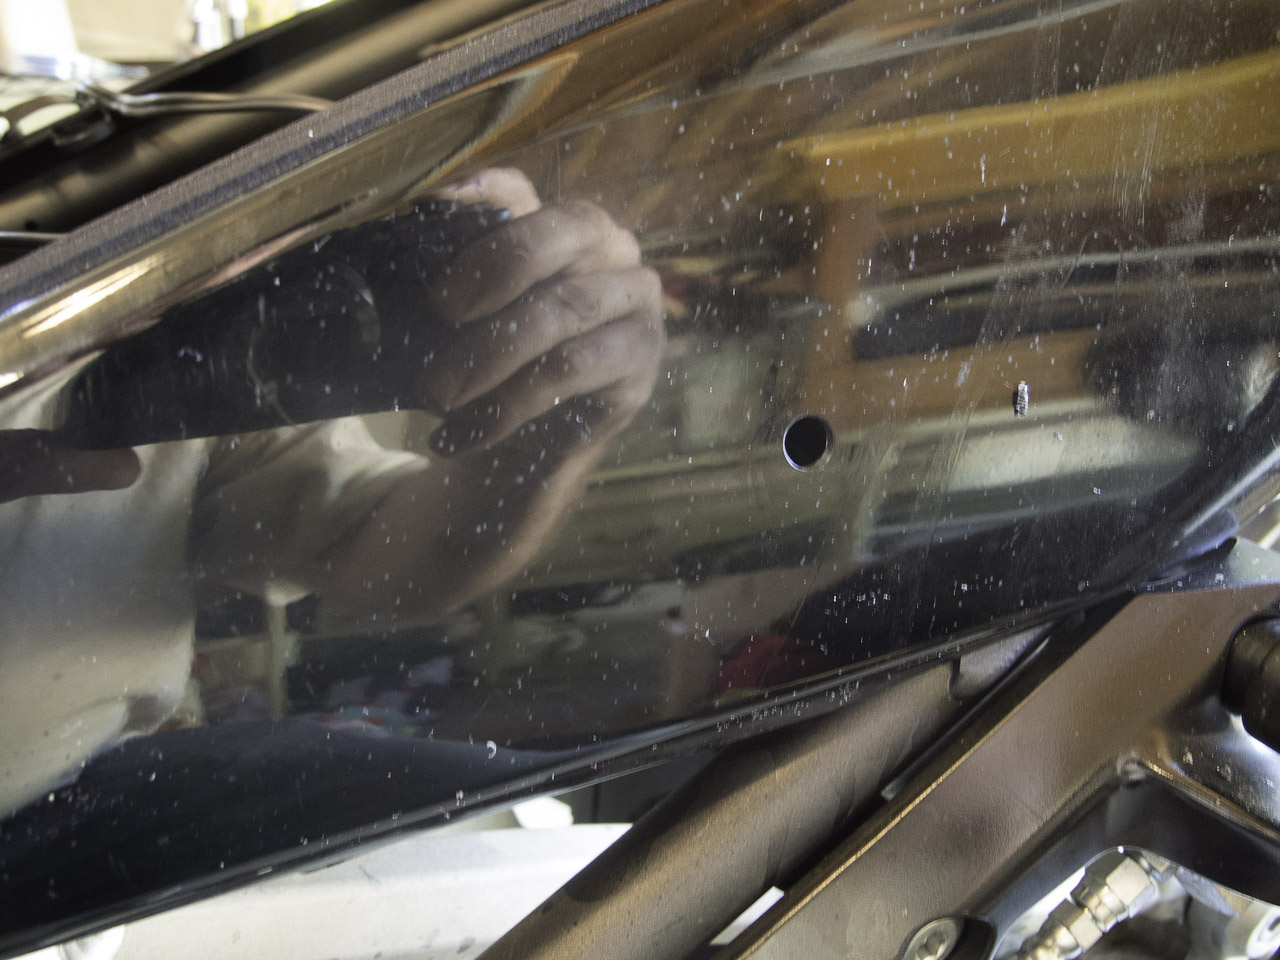
First hole complete
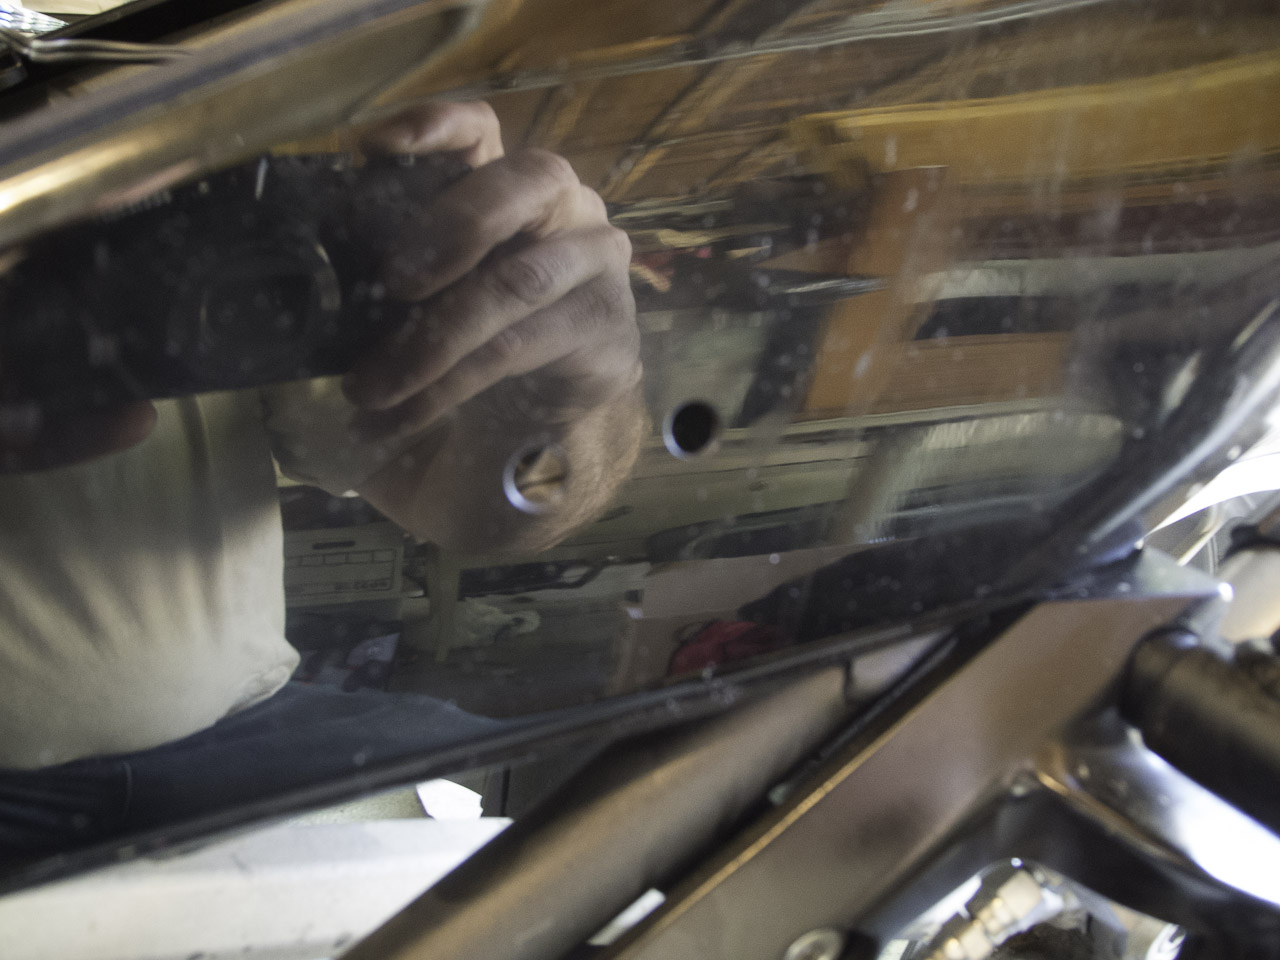
Second Hole complete
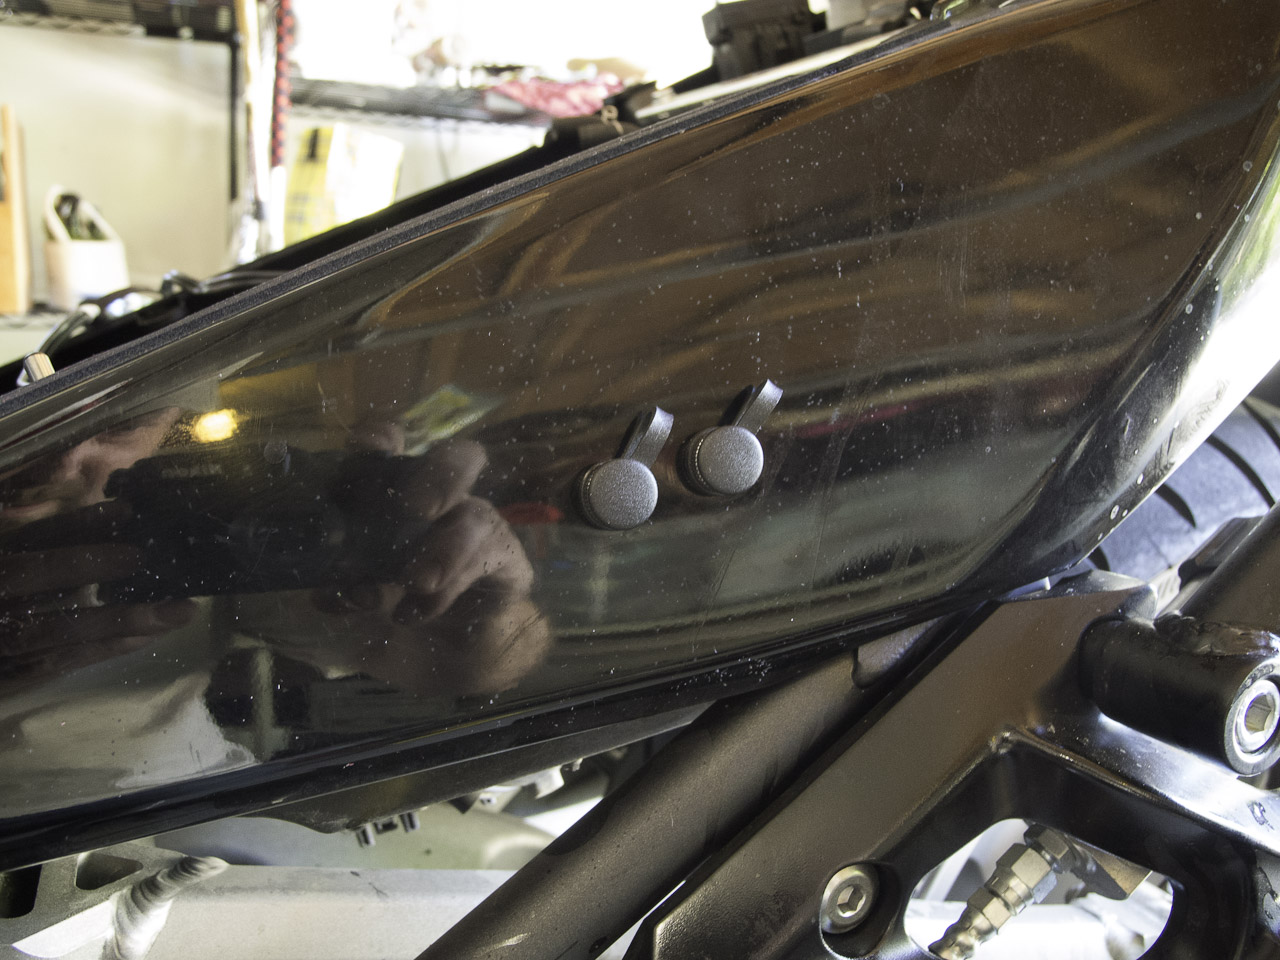
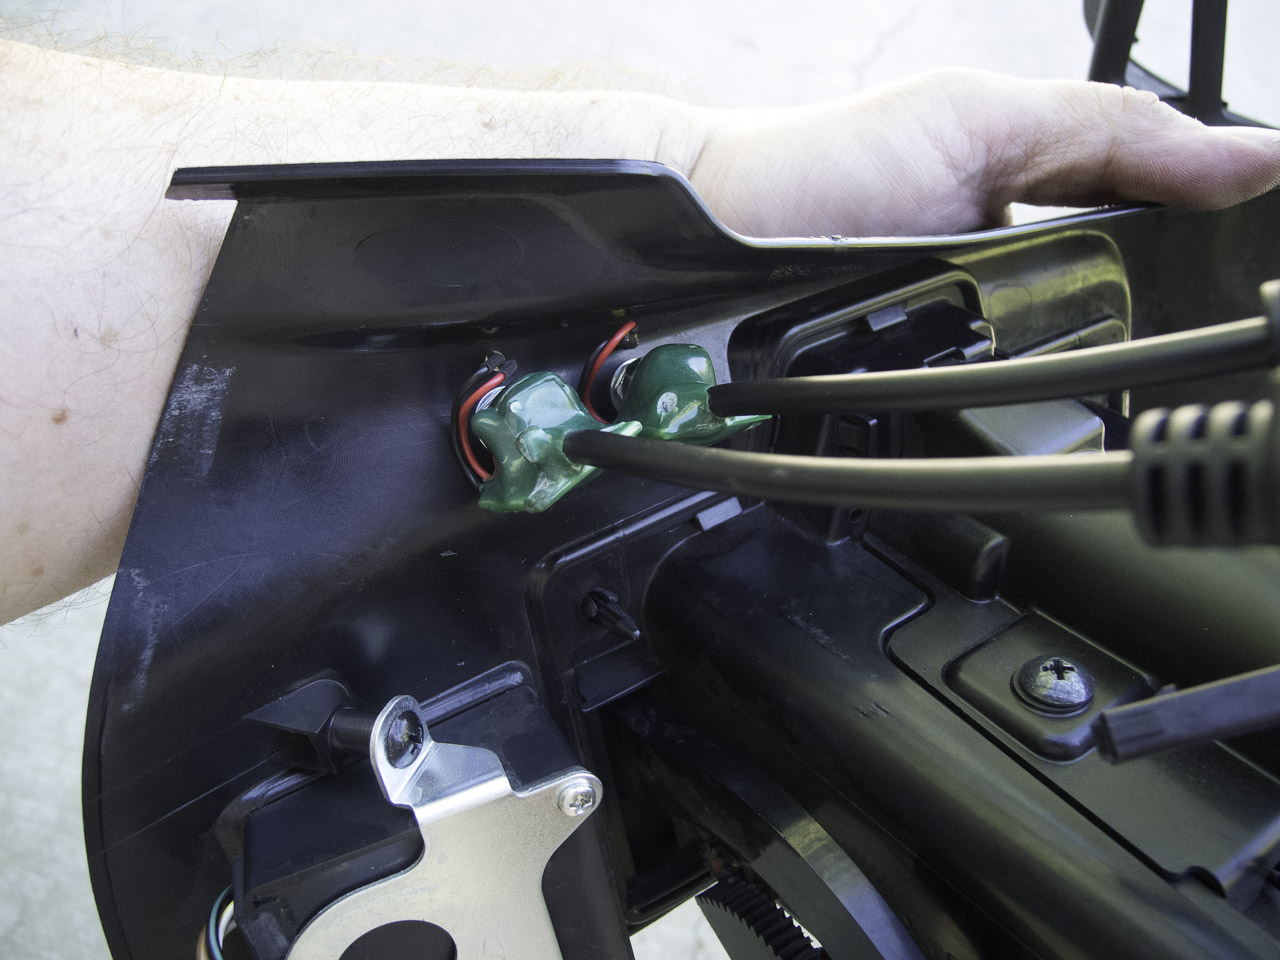
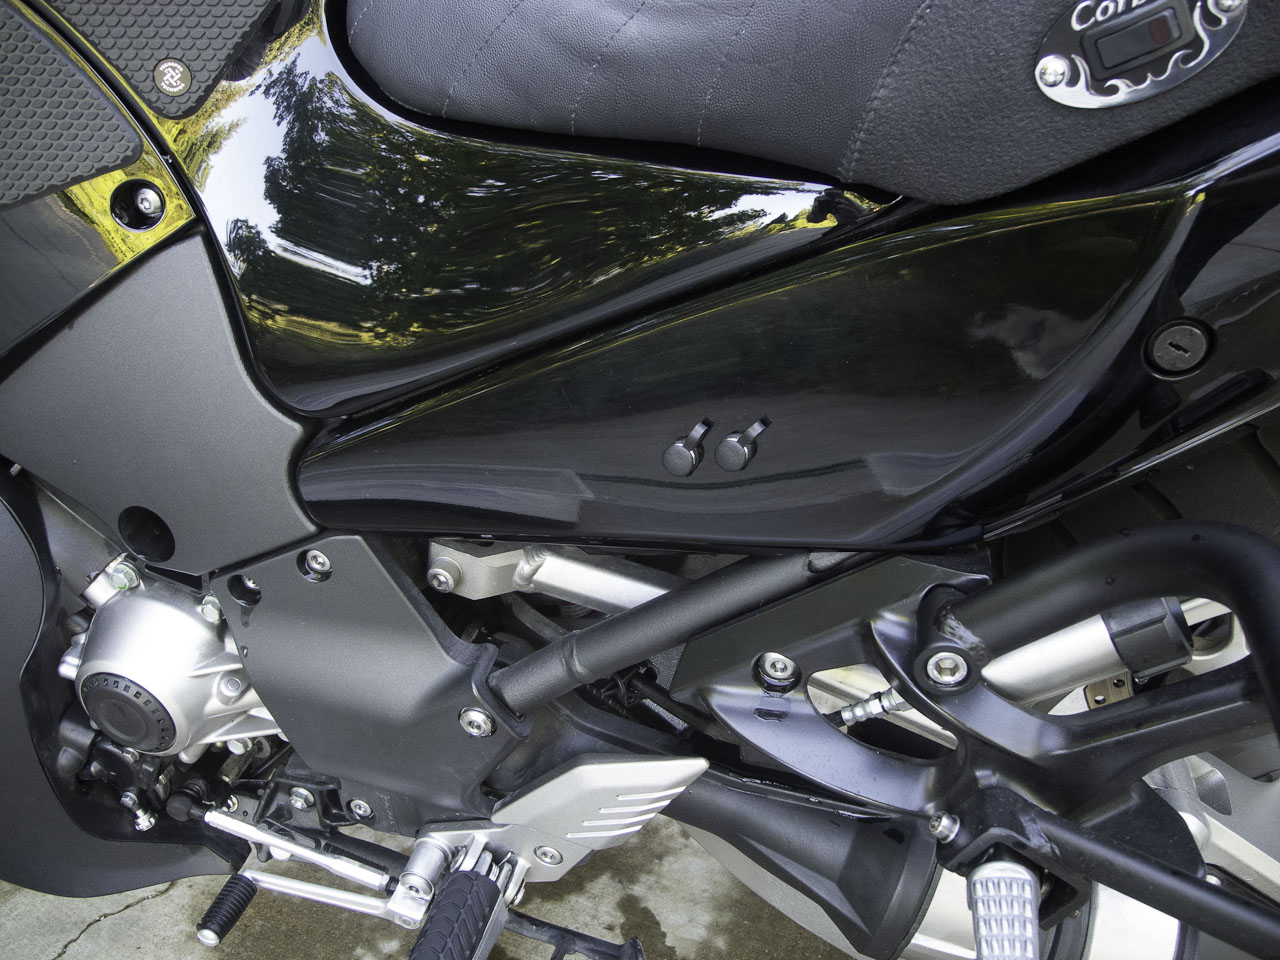
4. Then I mounted the ports and plugged them into the control module.
View from the back side
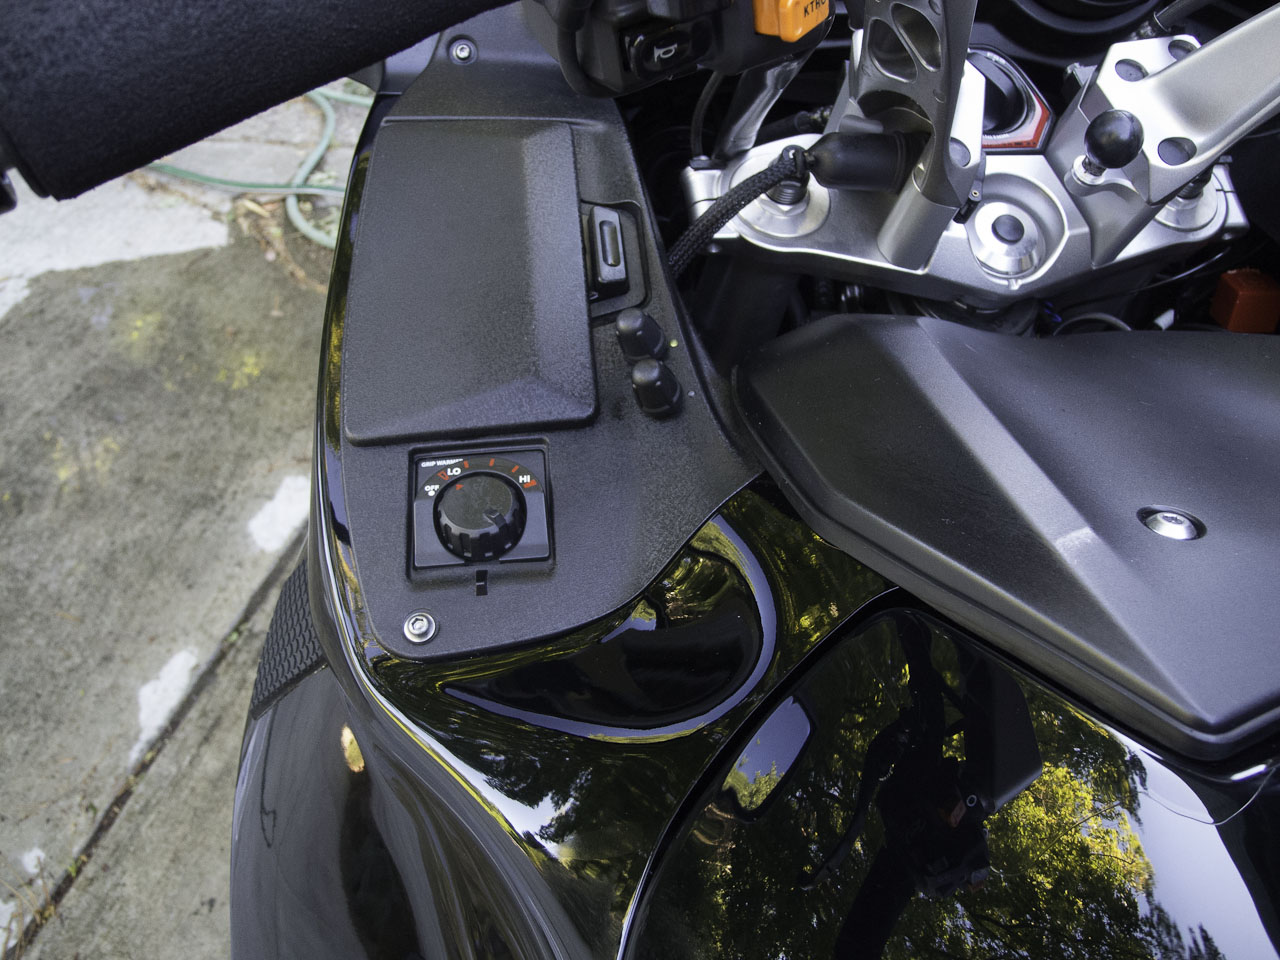
5. Next, having the ports installed I replaced the gas tank and tested to make sure everything was working correctly. To do that I had to install a 10A fuse in the fuzeblock. It all worked, so I removed the fuse and decided where to mount the controls. There are a lot of options, but I really wanted the controls near the heated grip controller. Based on how everything is laid out under the panel, and after sticking the two knobs all over that panel with a bit of dual sided tape, I finally decided up here so I can see the LEDs and reach the knobs while riding.
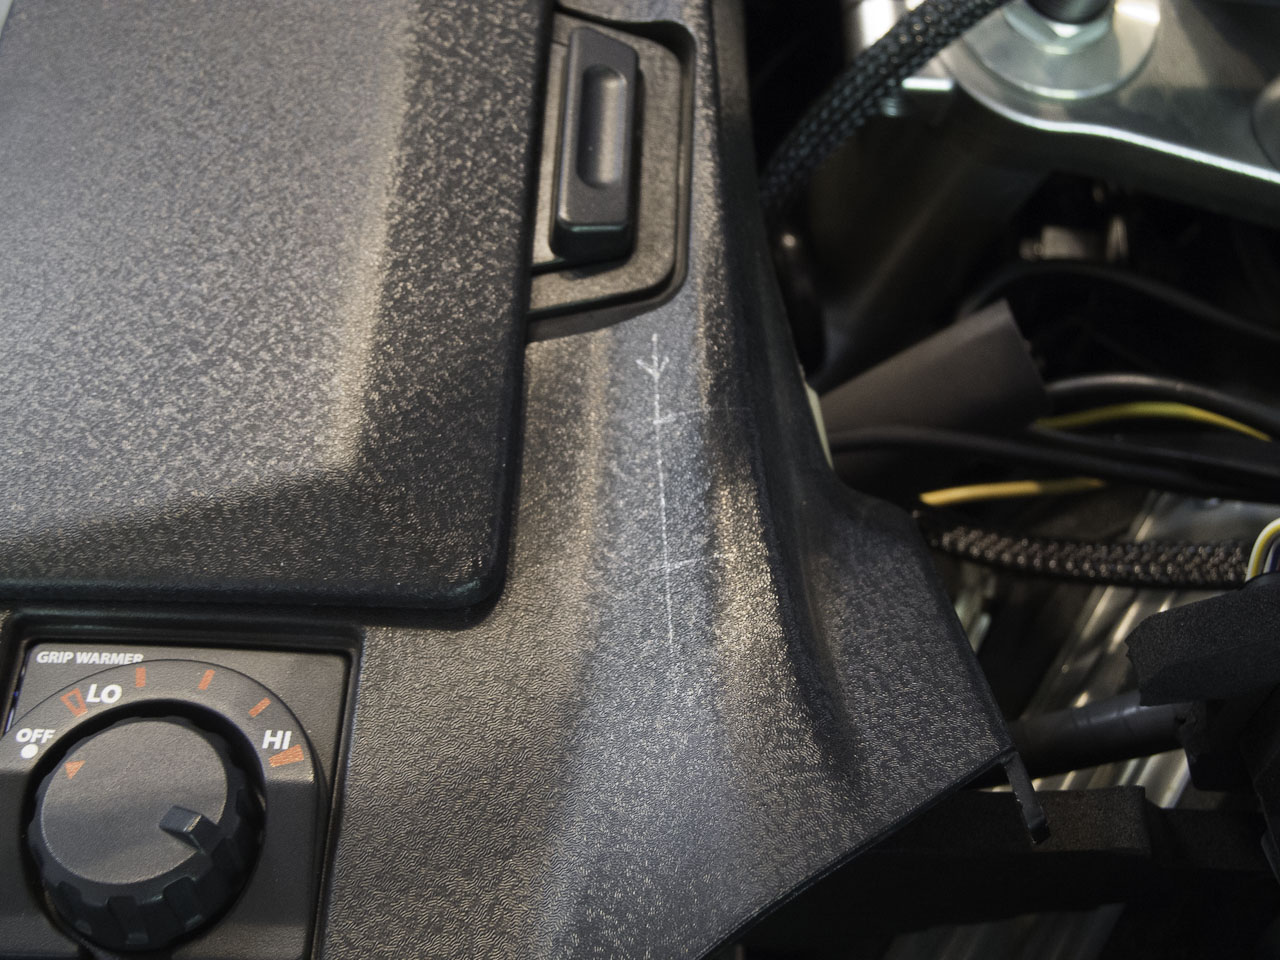
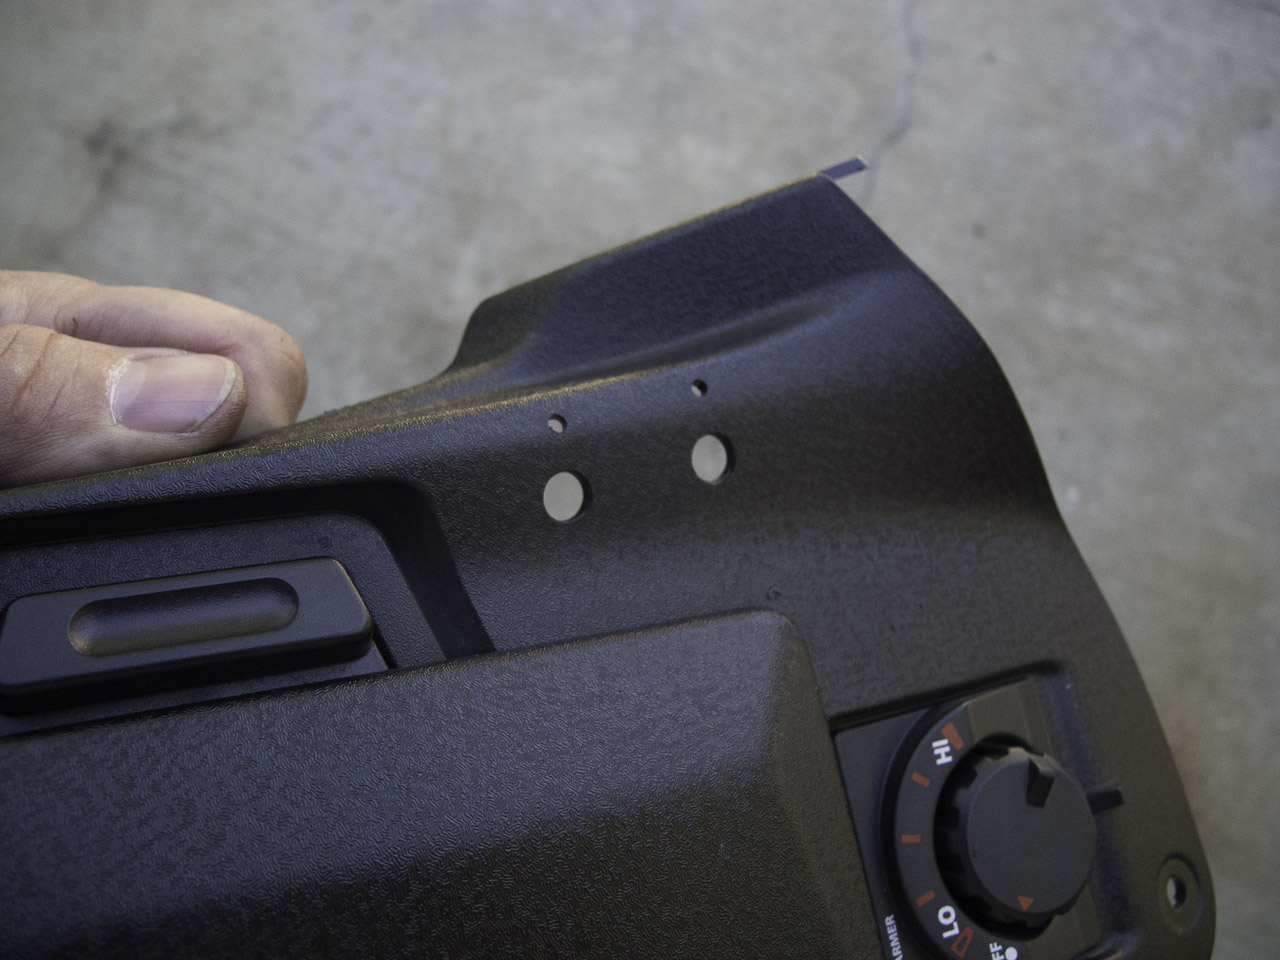
6. Paying close attention to the recommended hole sizes, I again drilled pilot holes and then enlarged them to get this:
7. Mounted the controls and LED lights. LED lights required a gentle enlarging of the hole and then a tiny flat bladed screwdriver to snap them in.
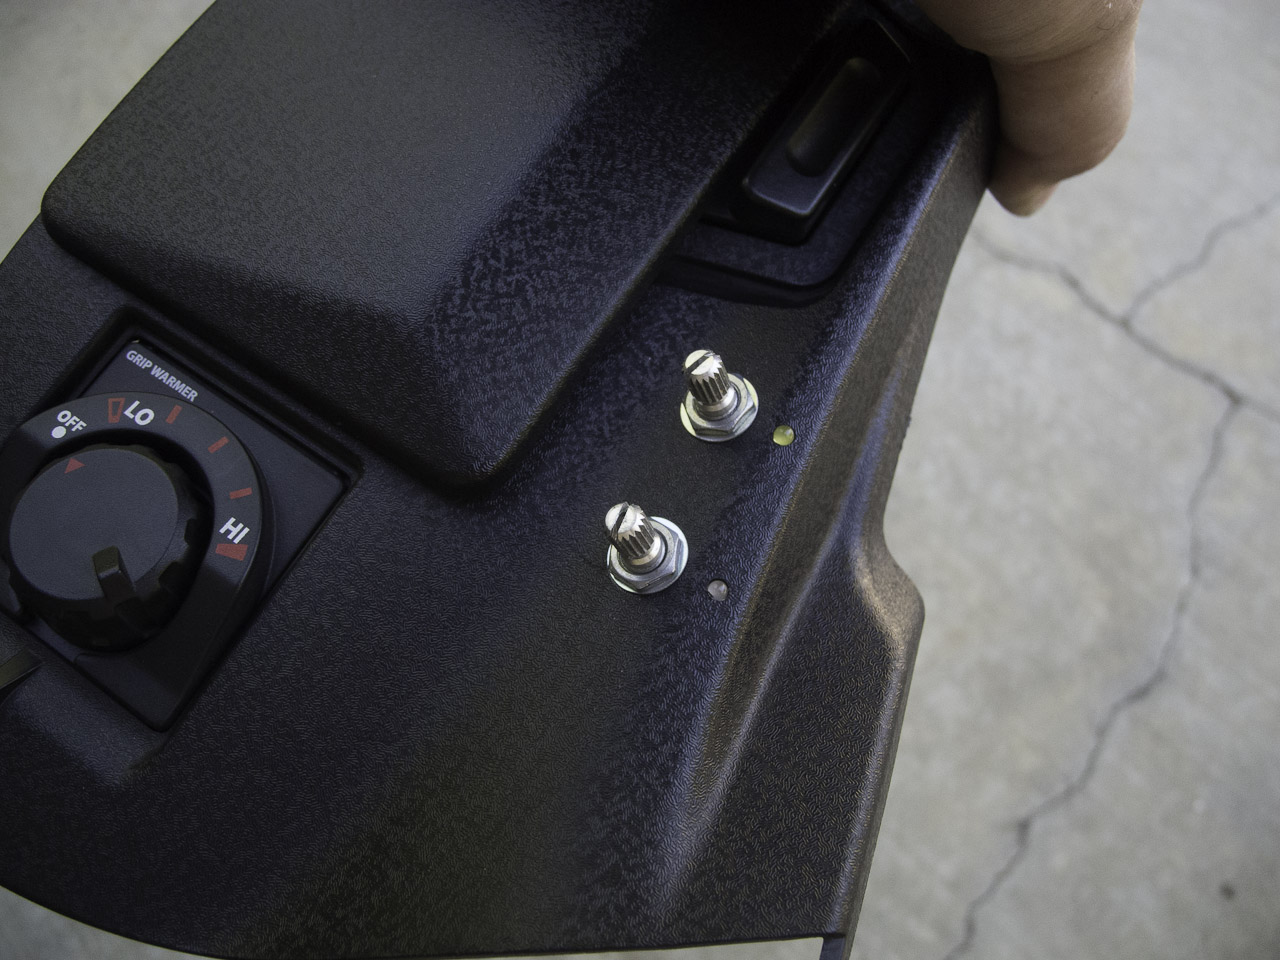
From the underside
8. And after washing the bike, here is what she looks like:
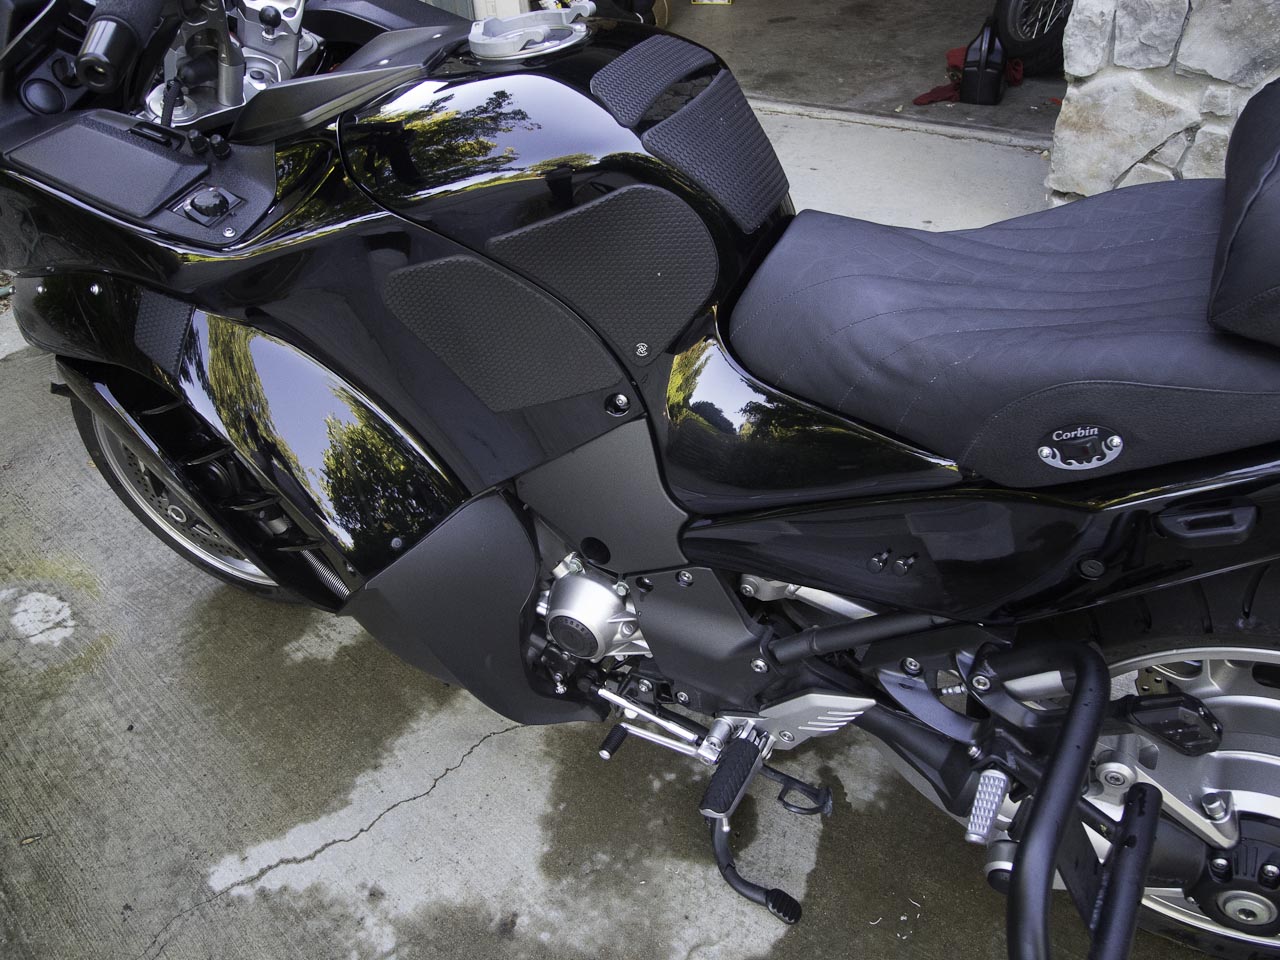
And it all works, just in time for summer!
On the cruiser, I just had a pigtail that ran out from under the seat, but for the Connie I decided to hardwire the entire set up.
First, from Revzilla, I ordered 2 Gerbing Panel Mounted Ports and the Permanent Dual Temp Controller. This is all you'll need.
http://www.revzilla.com/motorcycle/gerbings-panel-mounted-port
http://www.revzilla.com/motorcycle/gerbings-permanent-dual-temp-controller
I installed quite a bit of stuff at the same time, so I opted for a Fuzeblocks FZ-1 and installed it under the front right top panel.
http://www.fuzeblocks.com/index.php?pid=1#board
For the install locations, I chose the left panel under the front seat and the front left top panel for the controls.
This required removing the gas tank and all assorted panels. My advice? Block out about 6 hours, make sure you've watched Fred Harmon's C-14 videos on panel removal.
http://forum.cog-online.org/index.php/topic,20898.msg77096/topicseen.html#msg77096
1. With the tank off, I placed the control module underneath the gas tank with a strip of industrial velcro:
2. I ran the wires up the center of the bike and attached them to the Fuzeblock.
3. Then, making sure I didn't hit anything on the back side of the left panel, I drilled two holes the prescribed size, starting with a pilot hole and then using a step-drill to get to the correct size. (Yes, I actually read the instructions - take my man card away if you can find it!) :rotflmao:
The back view
Pilot hole
First hole complete
Second Hole complete
4. Then I mounted the ports and plugged them into the control module.
View from the back side
5. Next, having the ports installed I replaced the gas tank and tested to make sure everything was working correctly. To do that I had to install a 10A fuse in the fuzeblock. It all worked, so I removed the fuse and decided where to mount the controls. There are a lot of options, but I really wanted the controls near the heated grip controller. Based on how everything is laid out under the panel, and after sticking the two knobs all over that panel with a bit of dual sided tape, I finally decided up here so I can see the LEDs and reach the knobs while riding.
6. Paying close attention to the recommended hole sizes, I again drilled pilot holes and then enlarged them to get this:
7. Mounted the controls and LED lights. LED lights required a gentle enlarging of the hole and then a tiny flat bladed screwdriver to snap them in.
From the underside
8. And after washing the bike, here is what she looks like:
And it all works, just in time for summer!

")